Big Light Bright
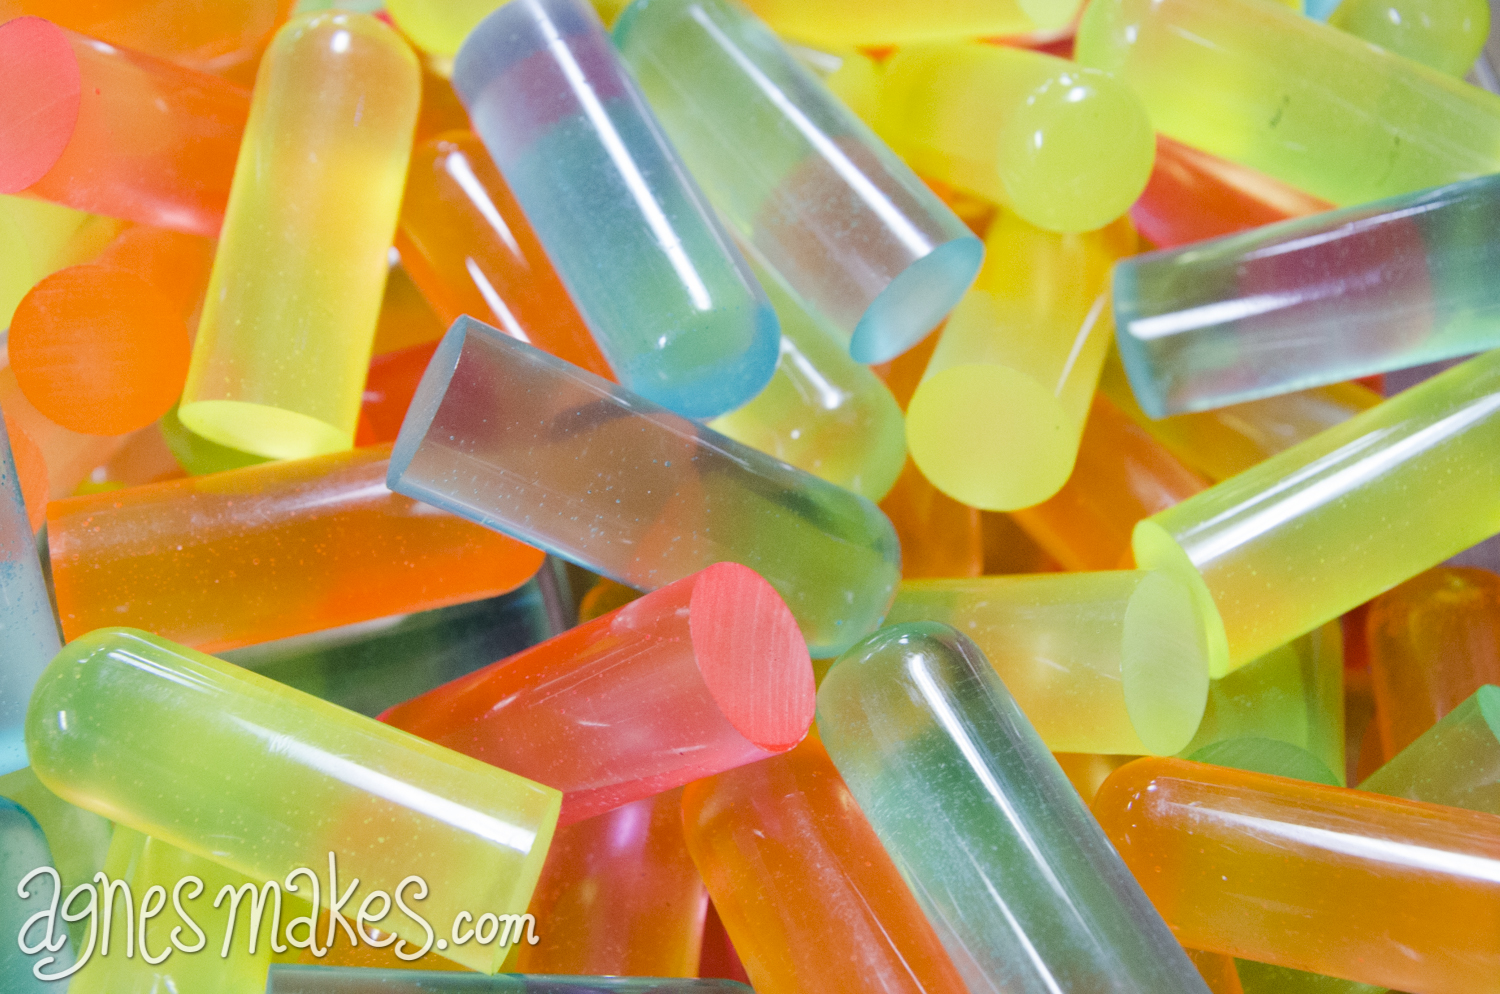
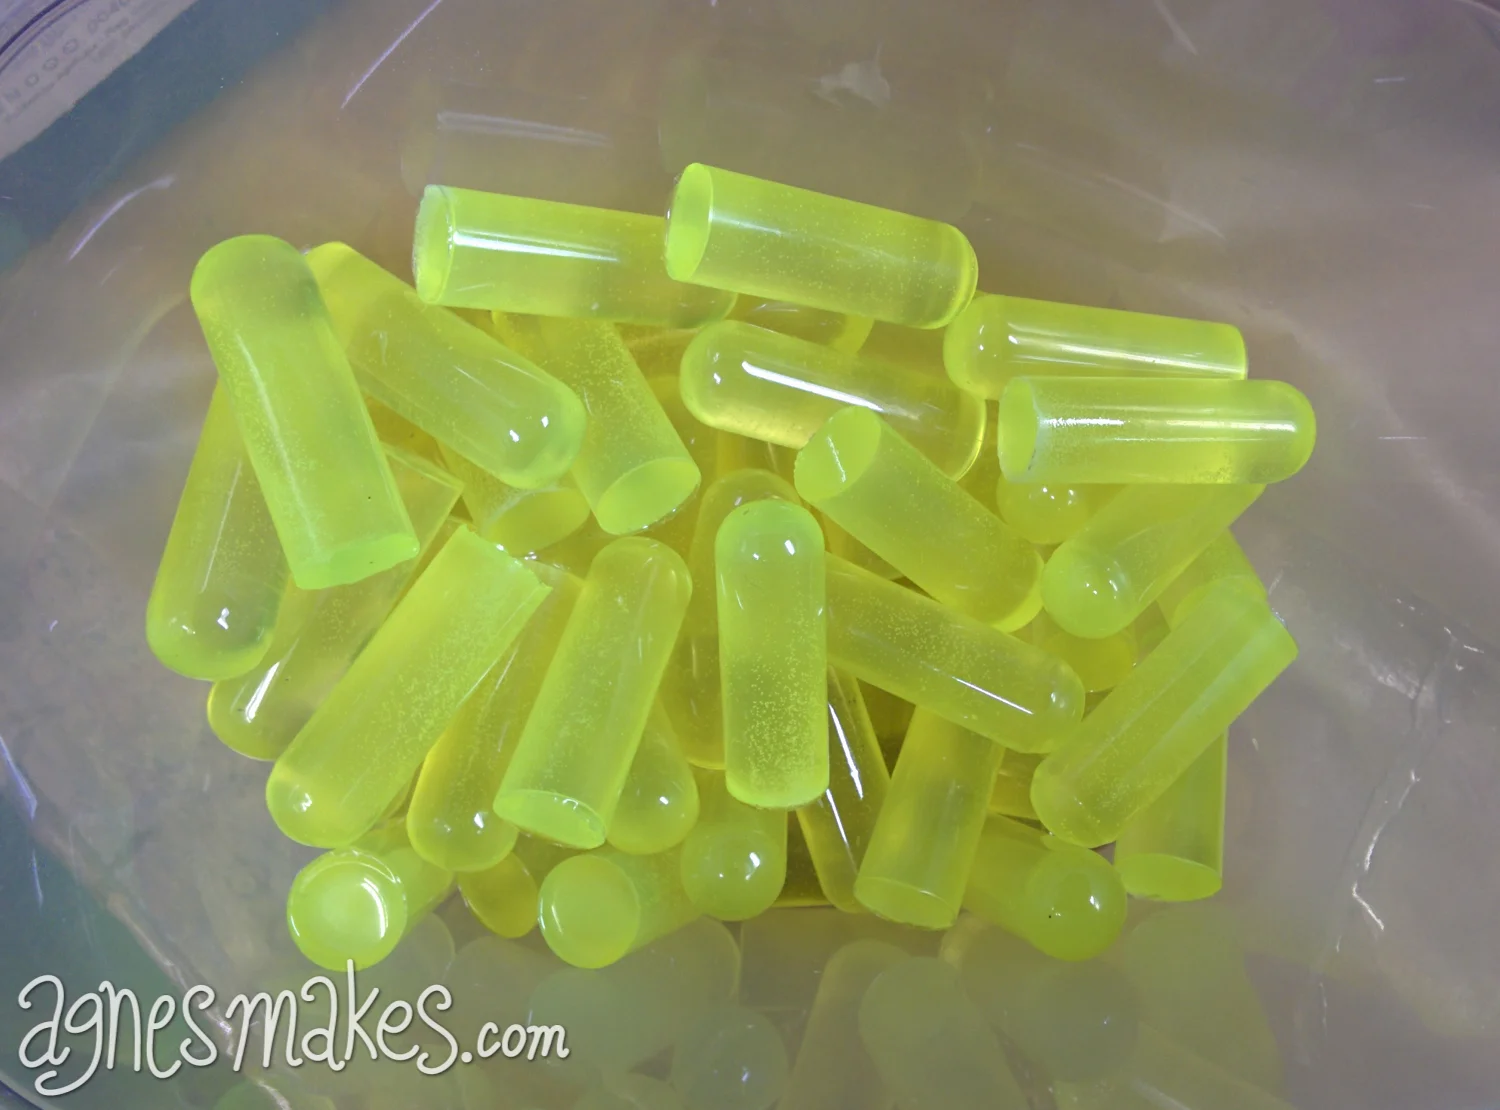
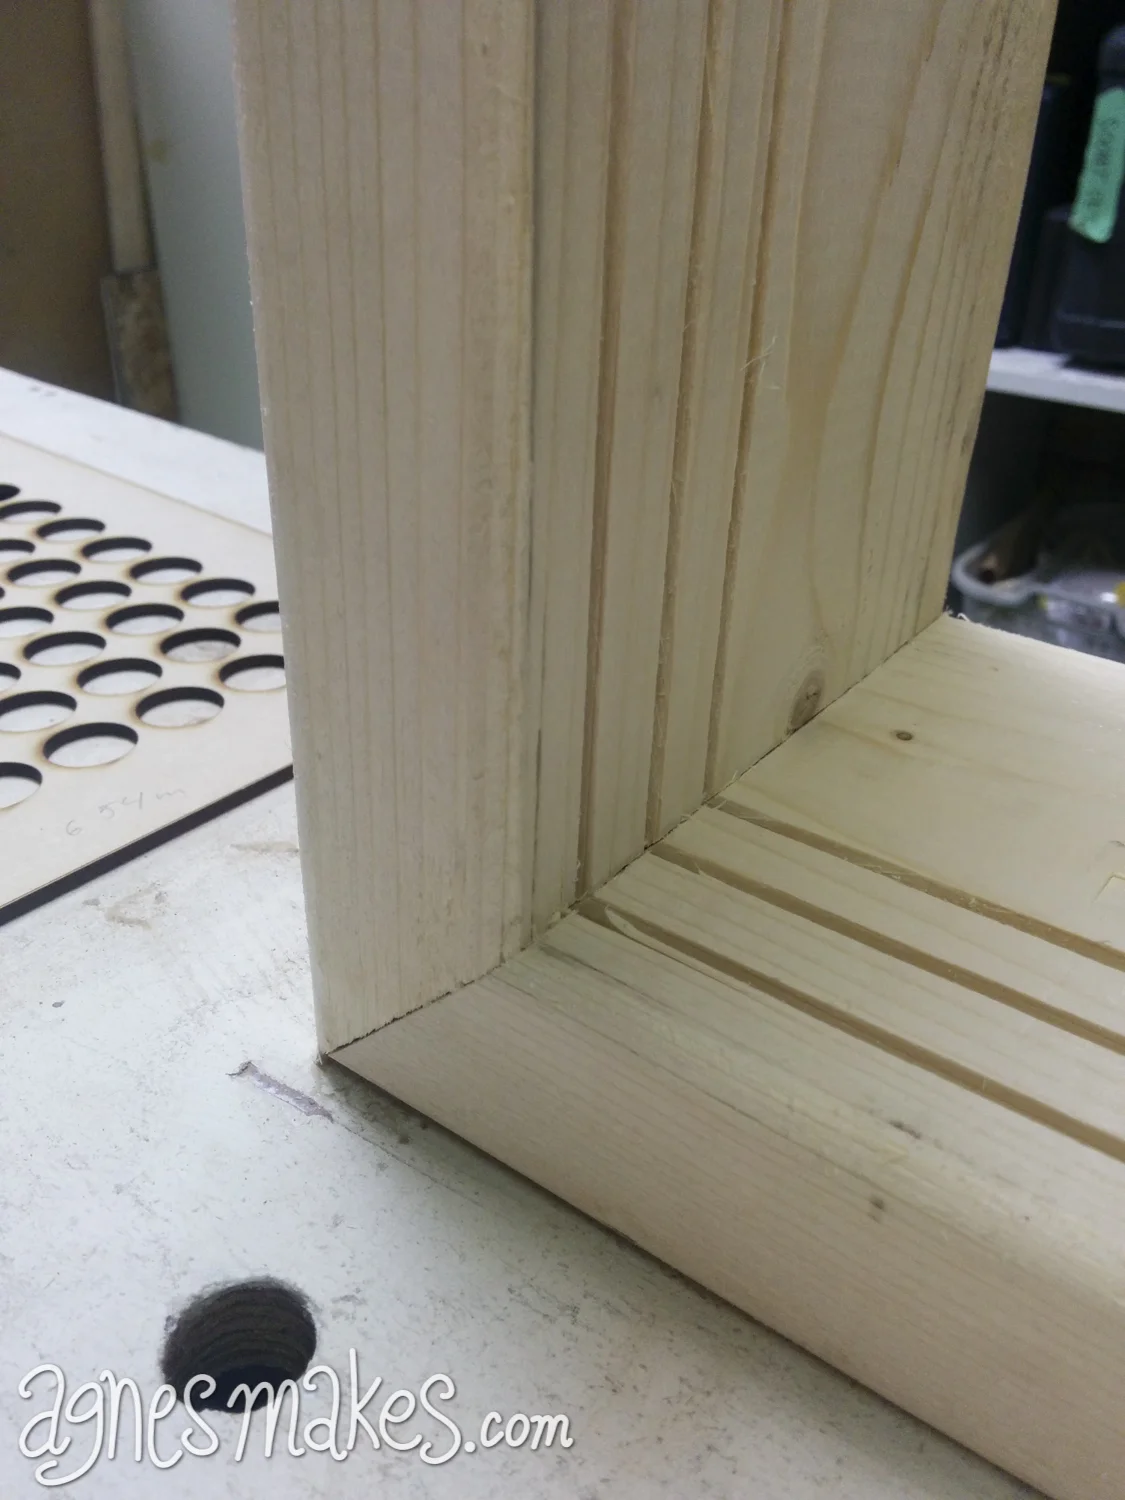
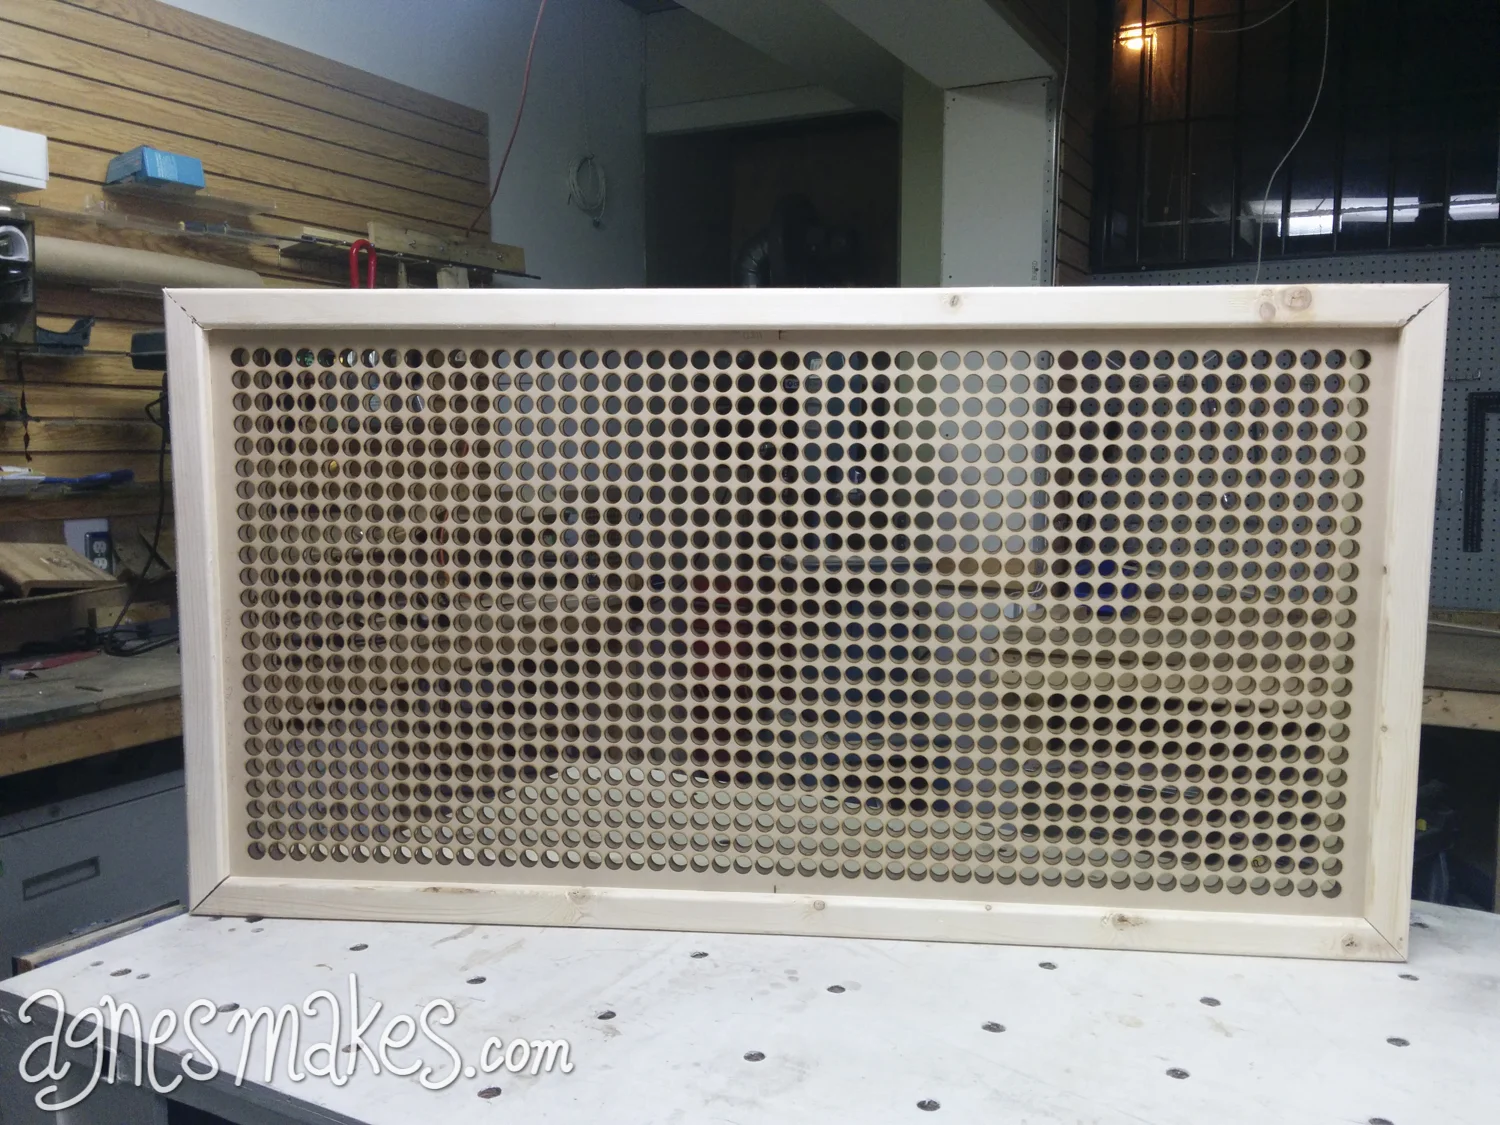
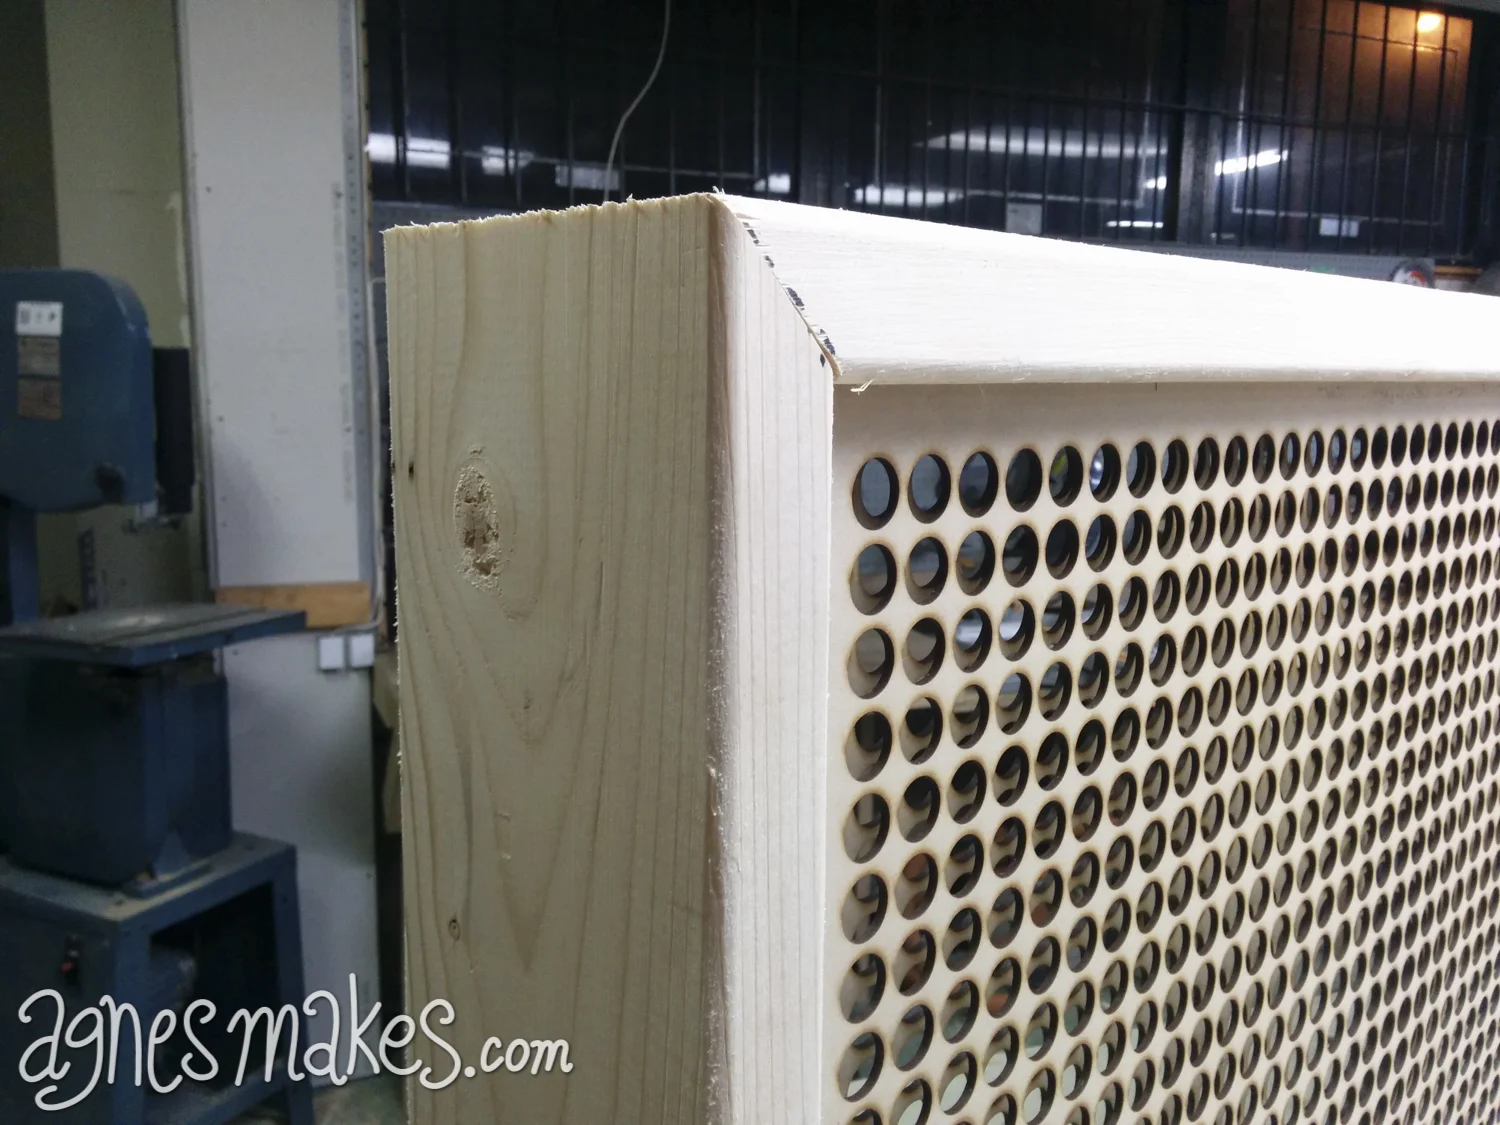
Playing with over-sized games is just that much more fun! Here's my version of a giant Light Bright. It is back lit using UV LED strips, and the pegs are all custom cast with UV reactive dyes. I built two boards measuring 2' x 4', so when they are set up next to each other, it is 8' wide.
Big thanks to Bernie Rohde for helping with this build!
This game was created for the 2014 NIGHT\SHIFT festival in downtown Kitchener, ON.

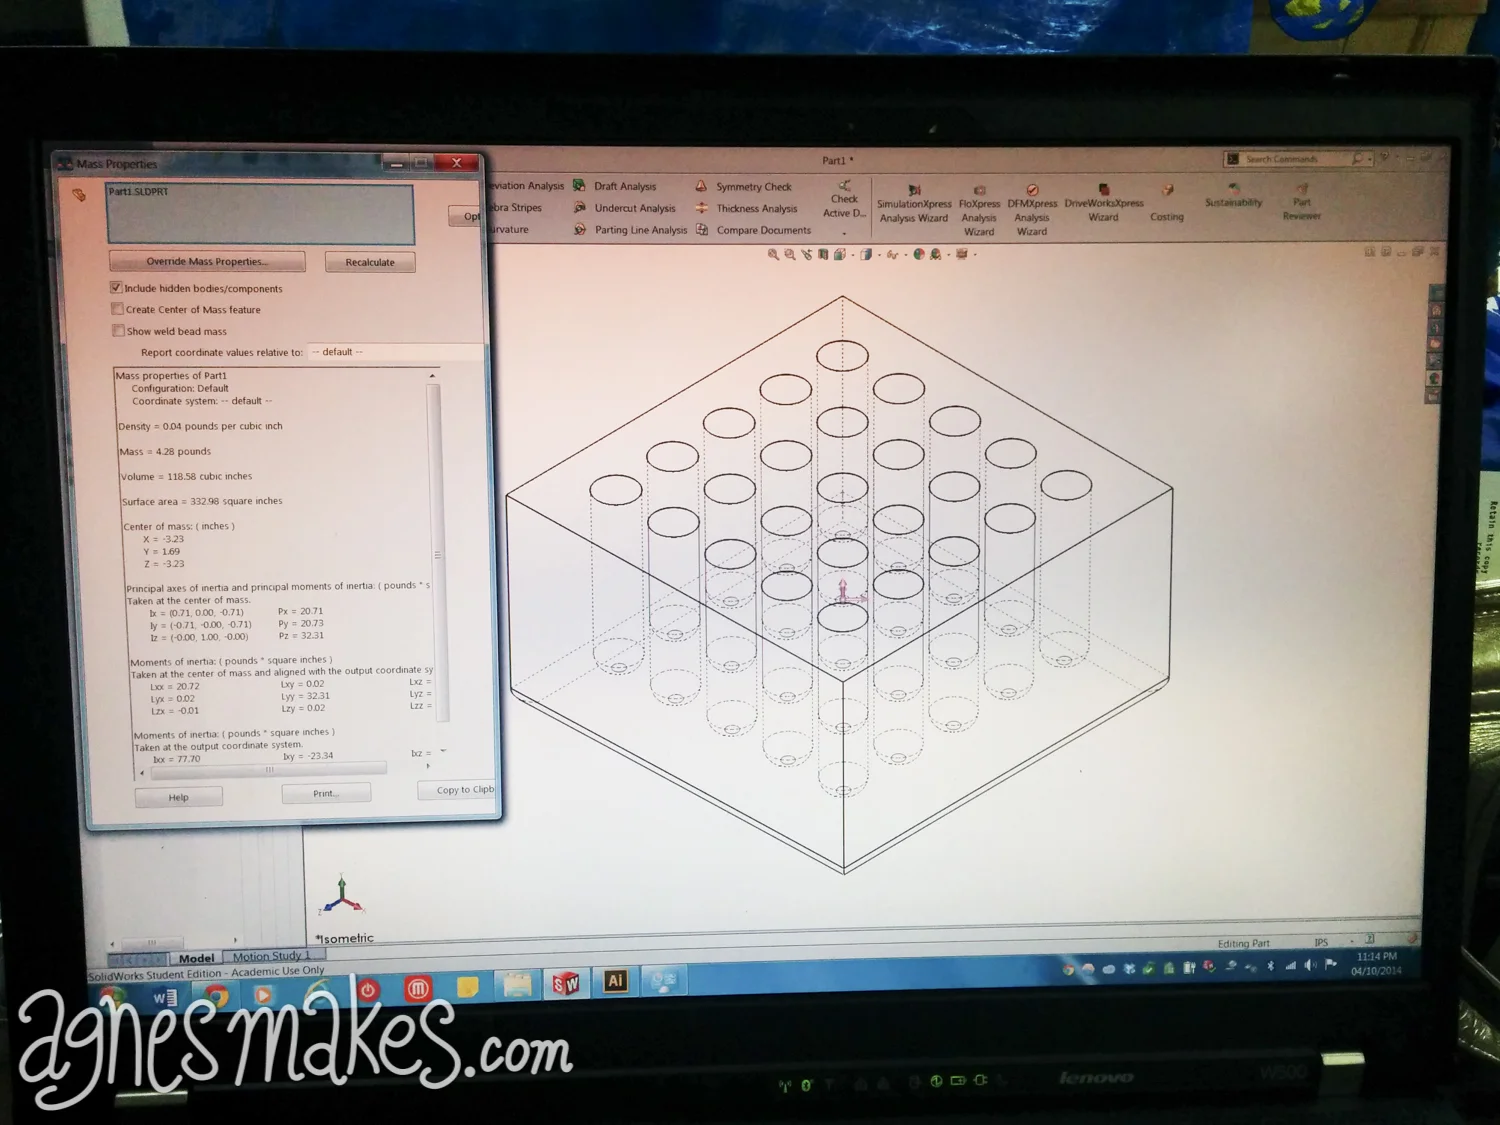
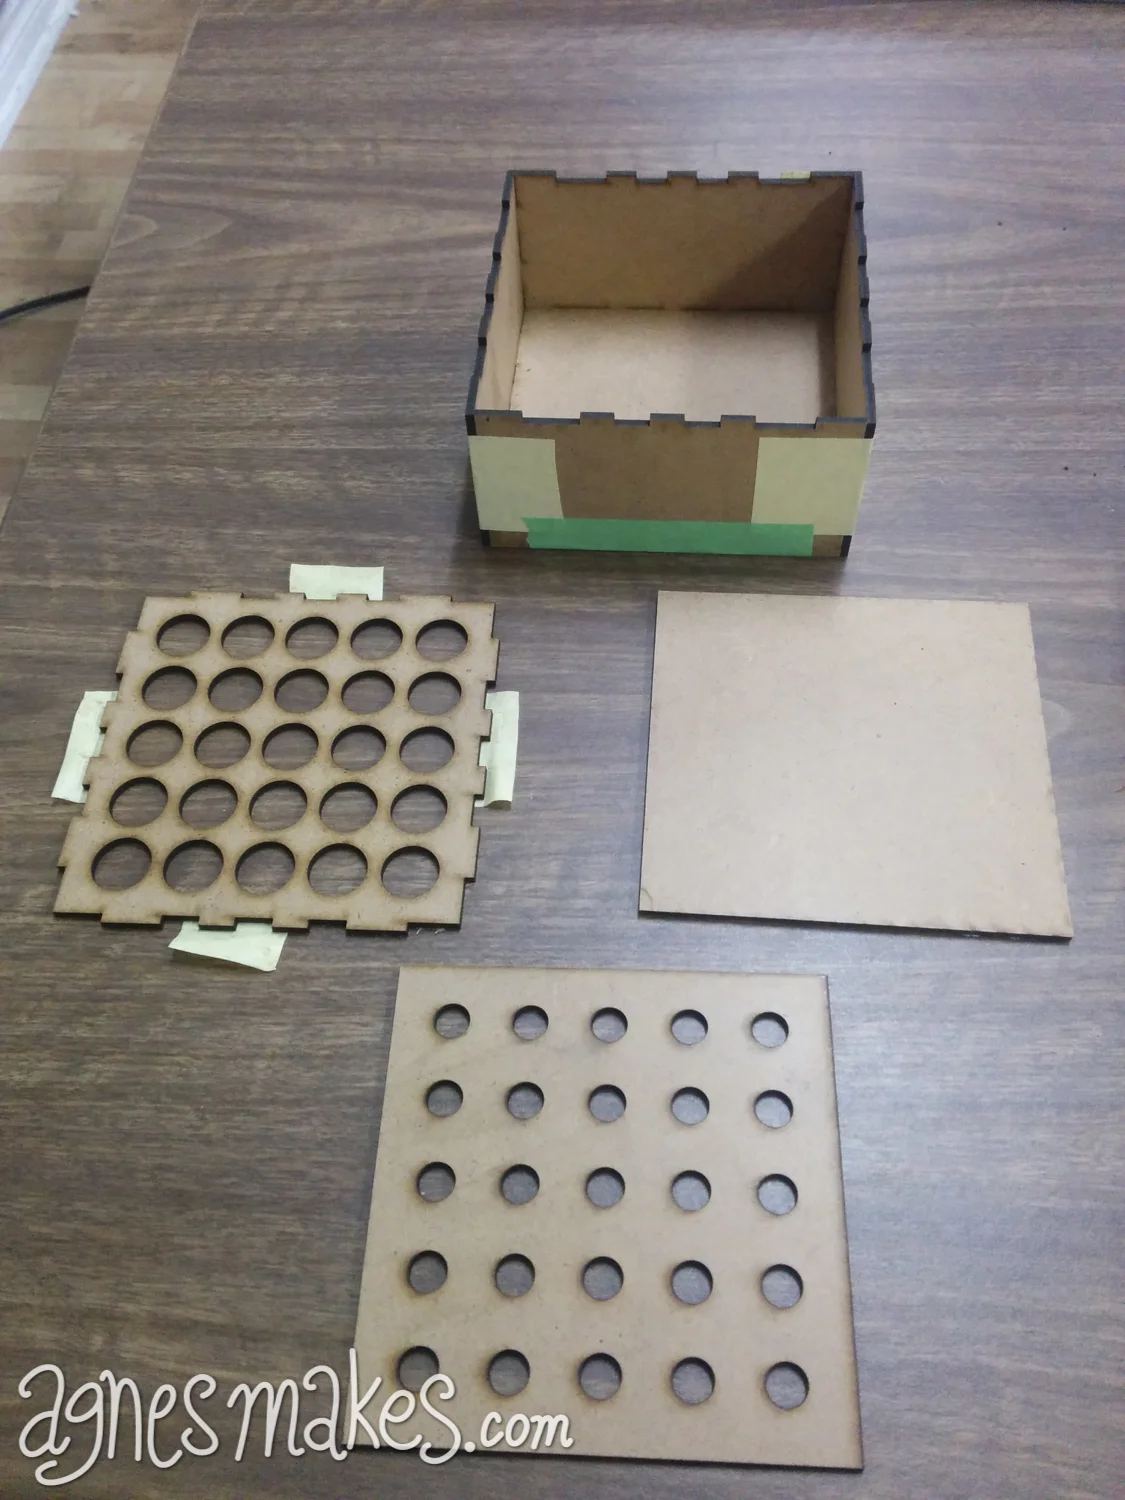
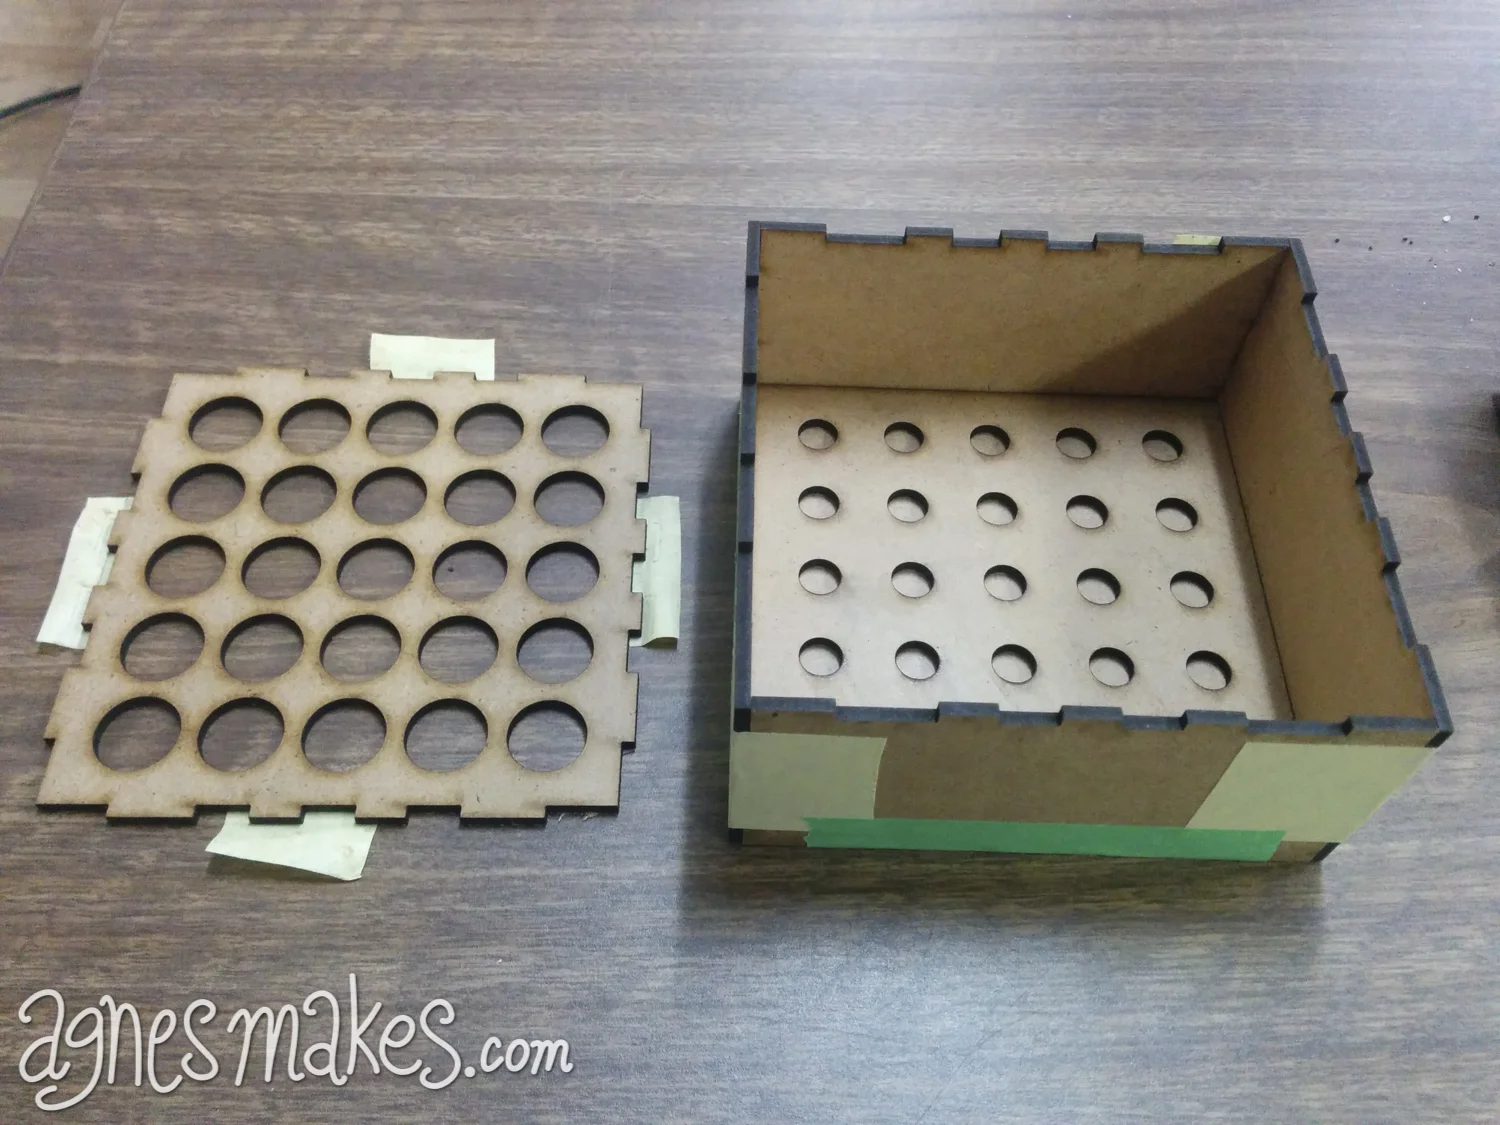
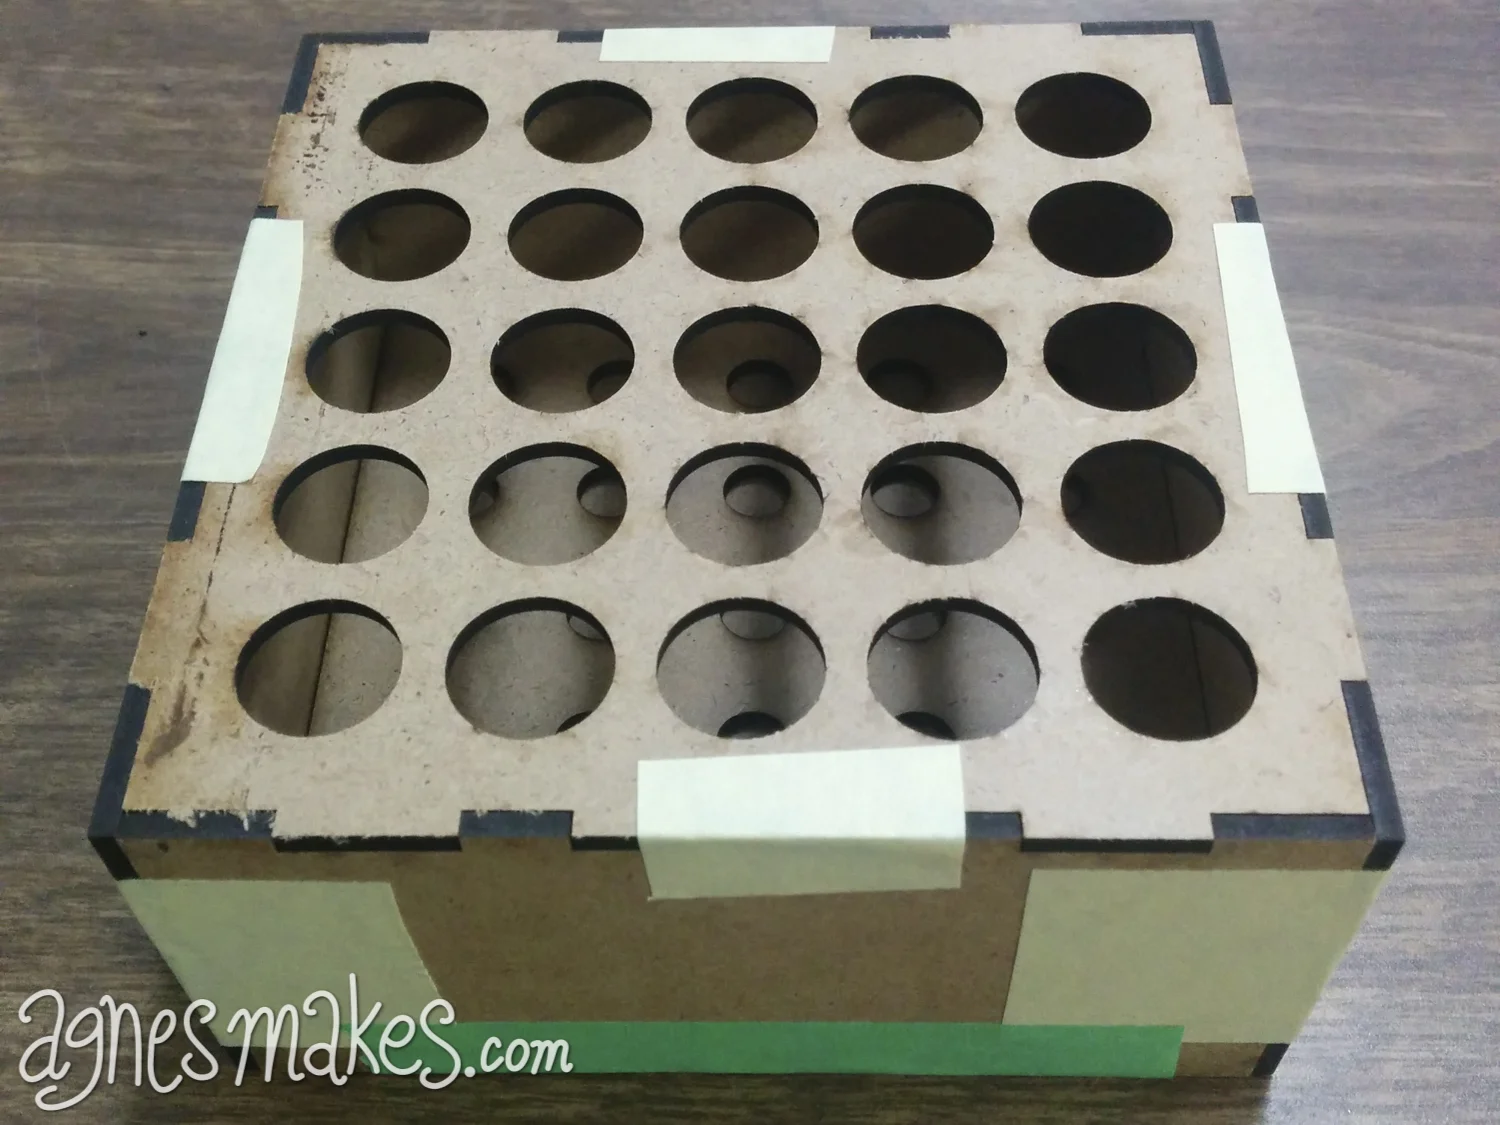
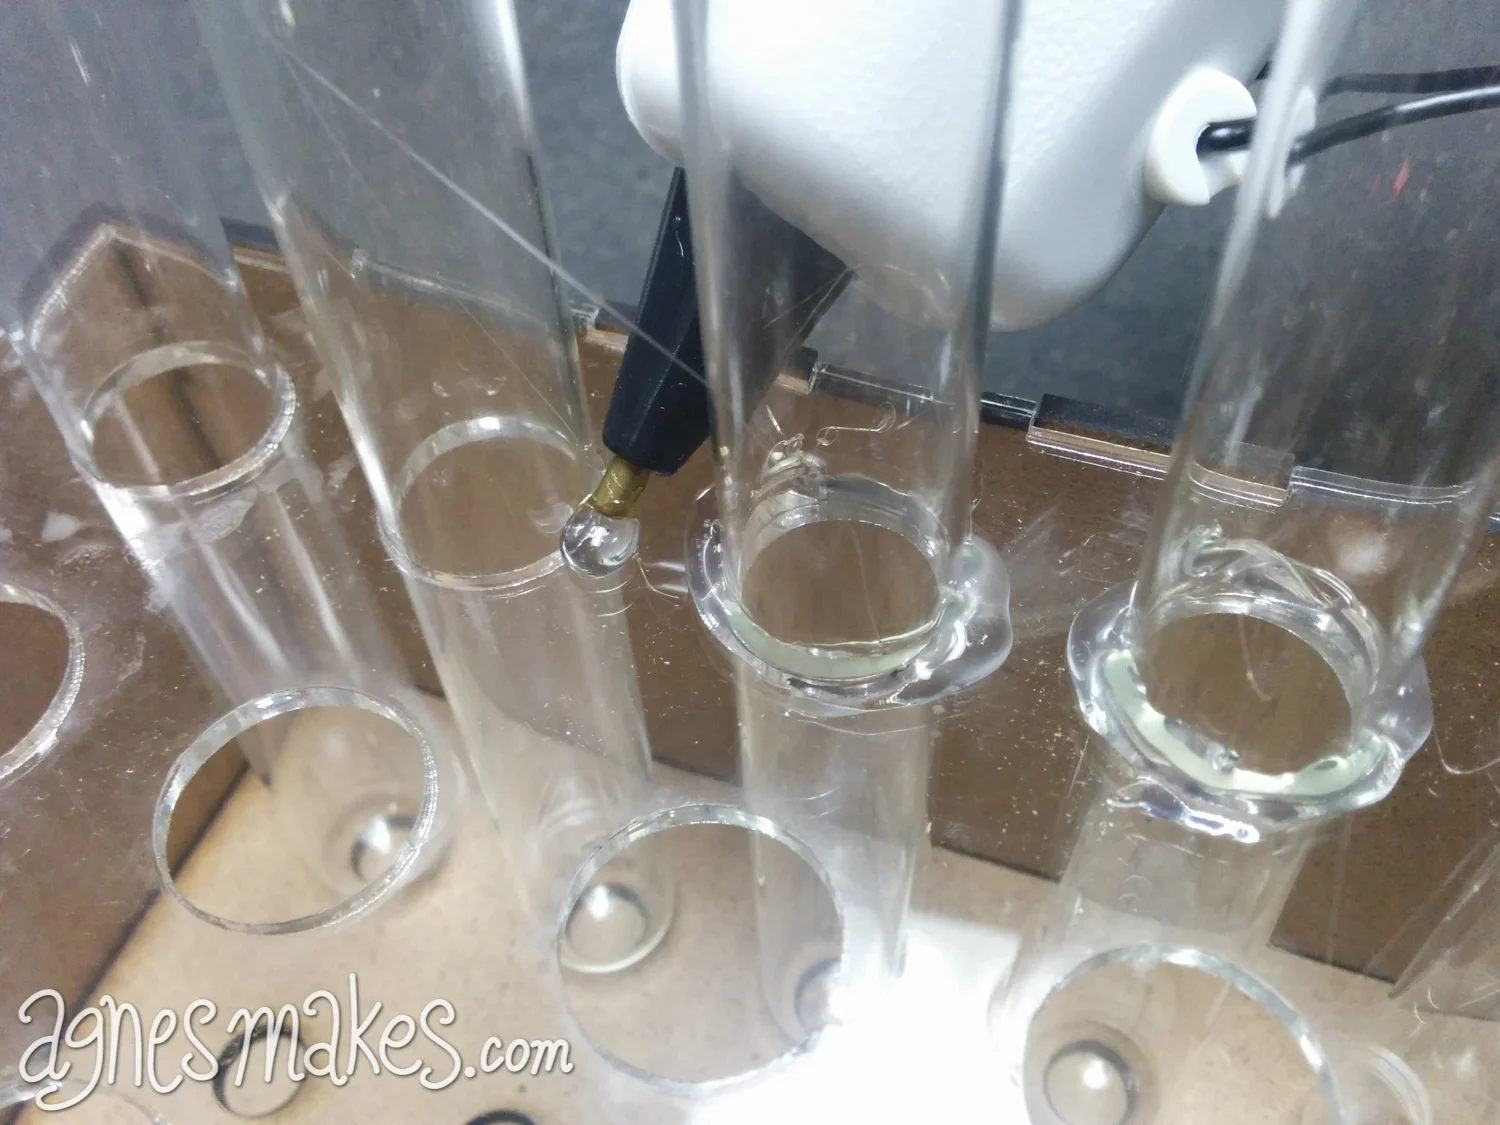
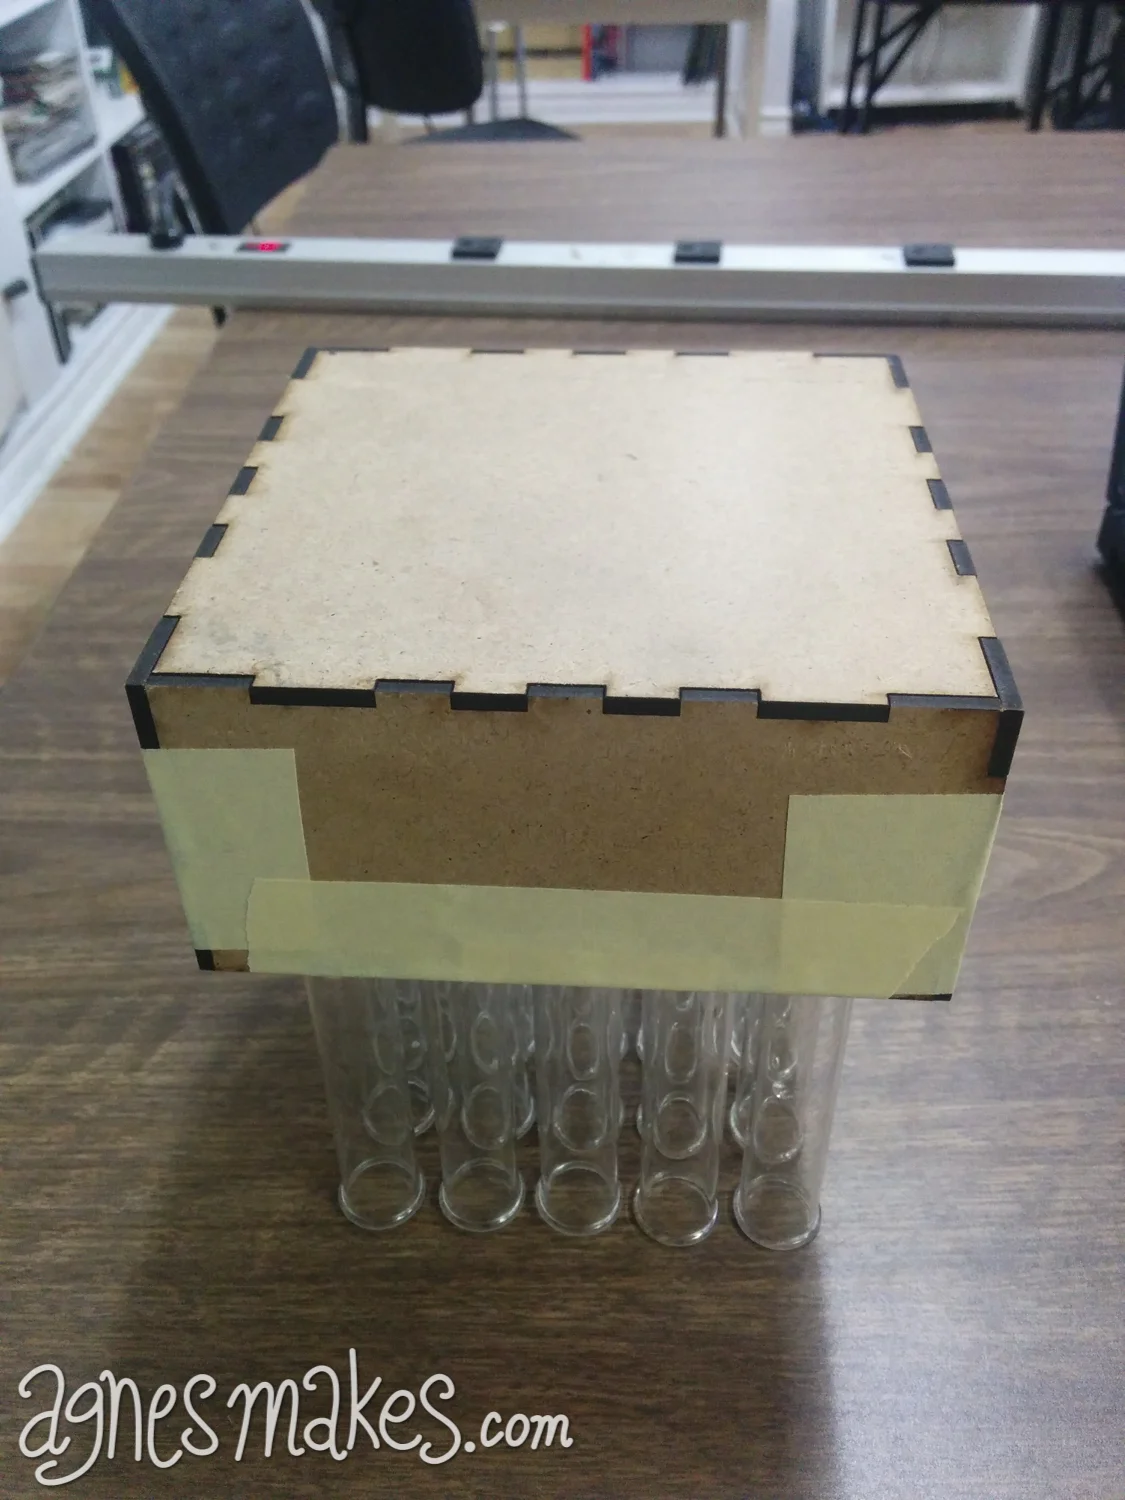
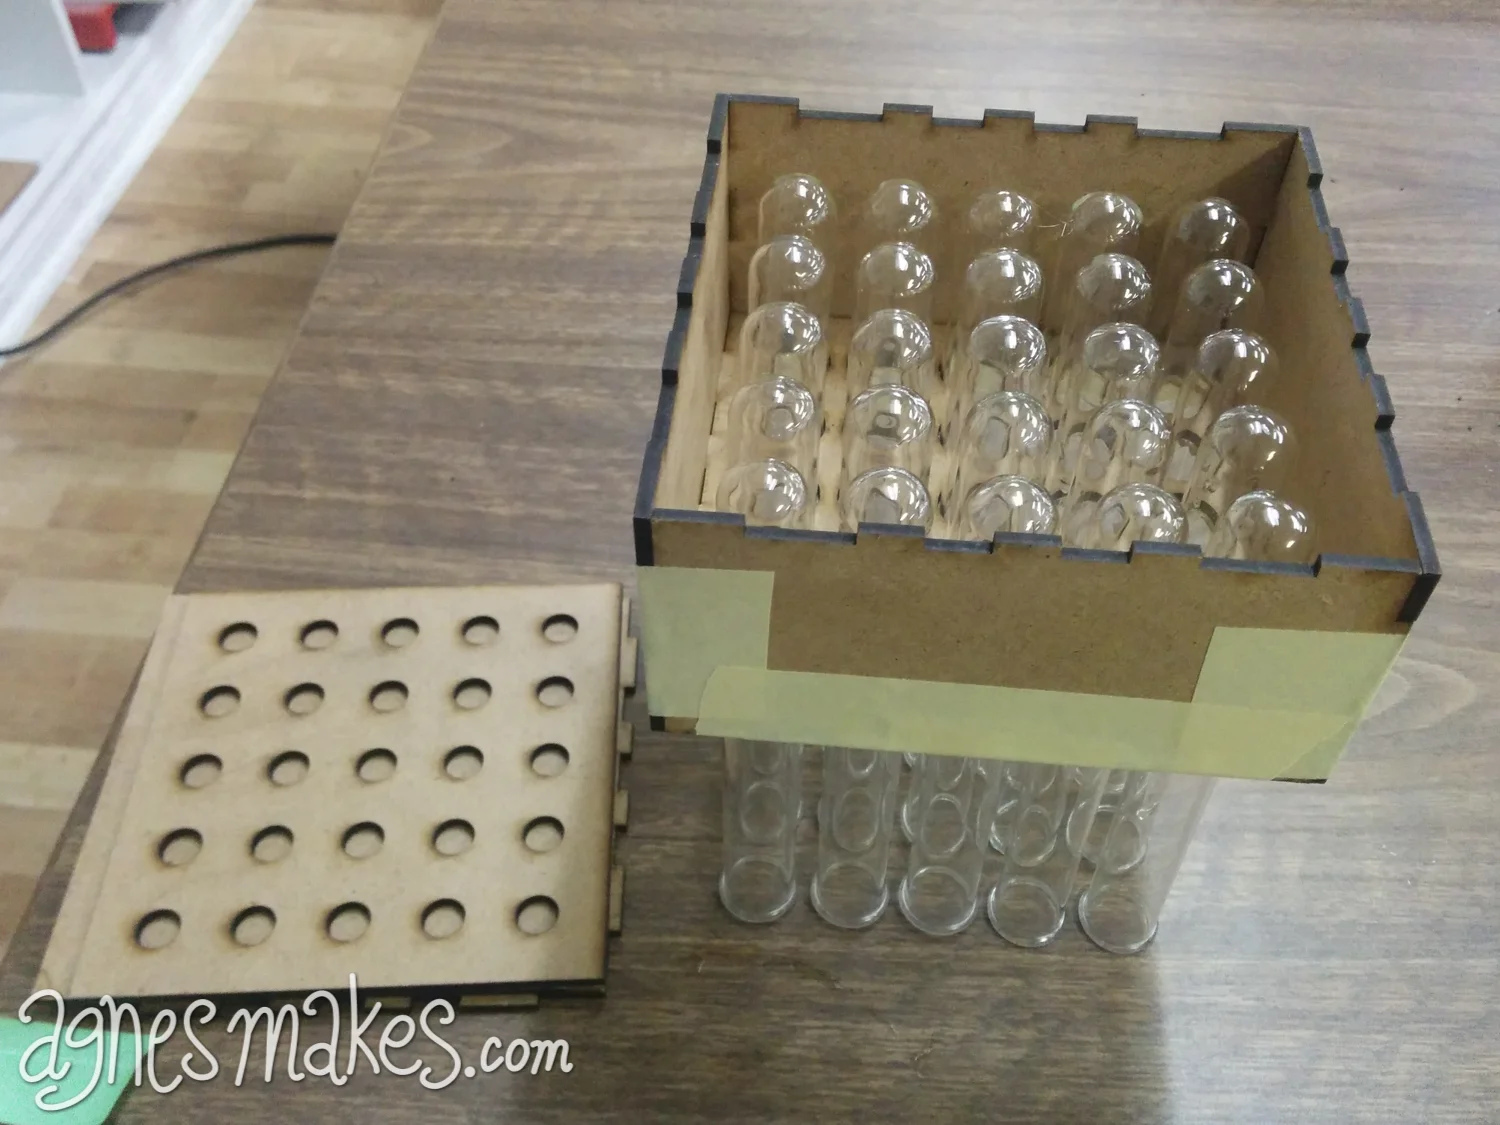
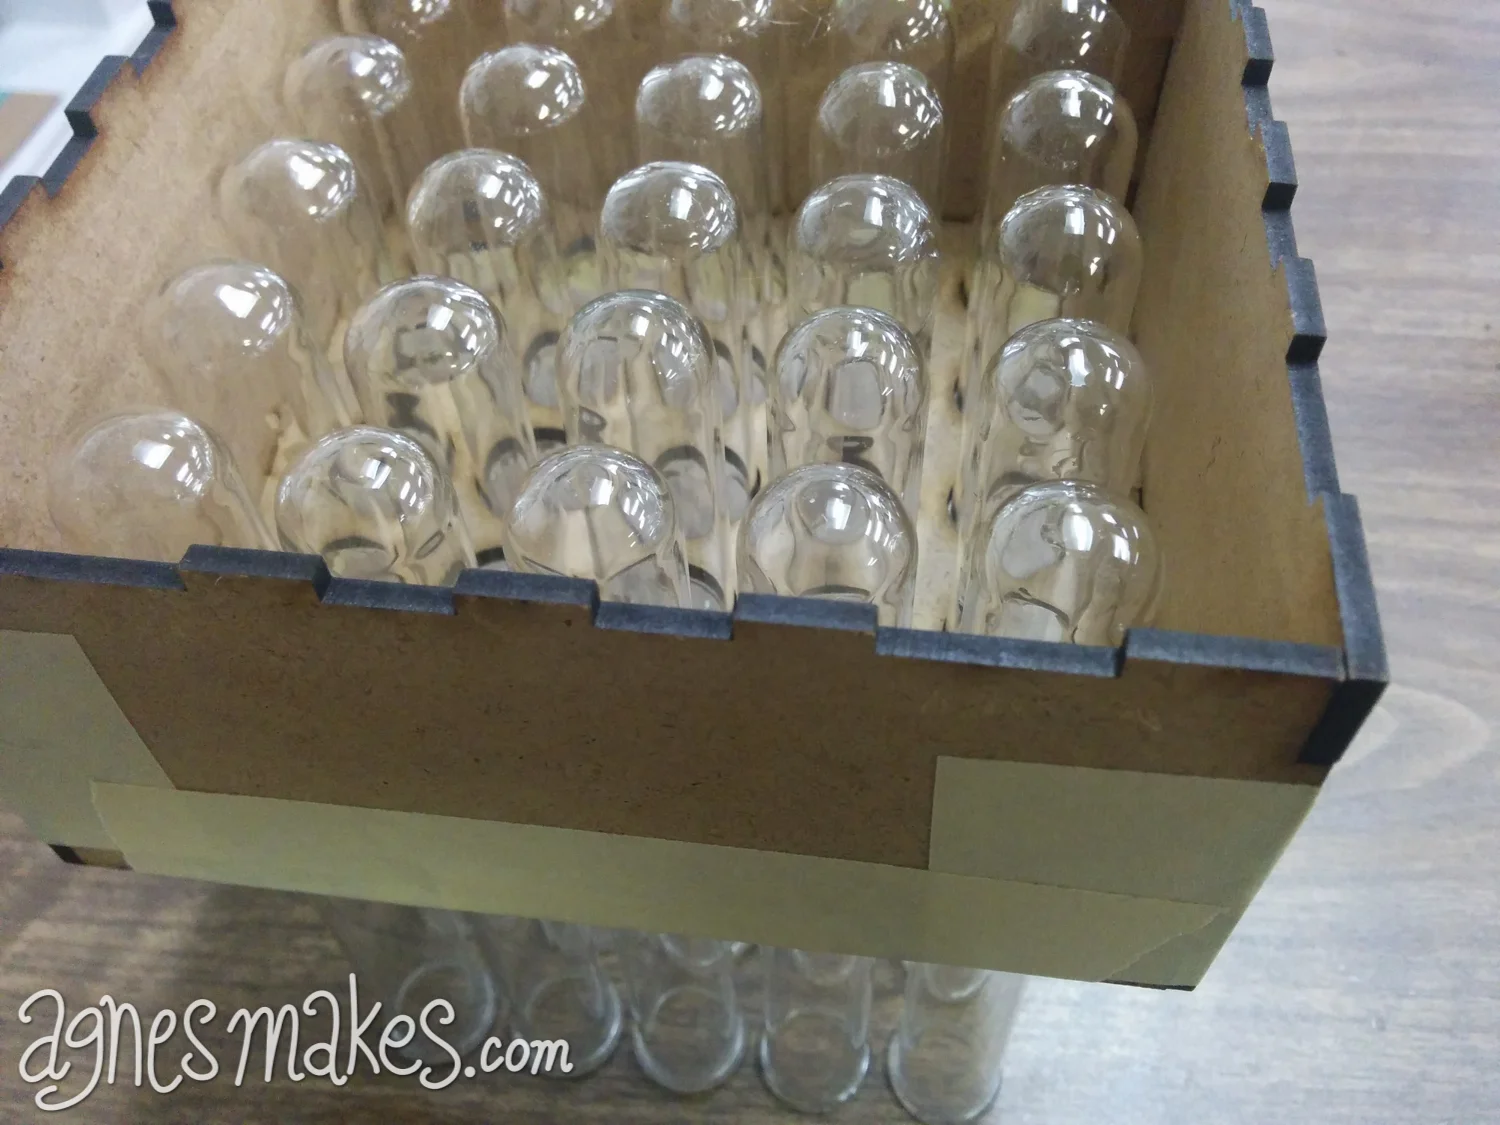
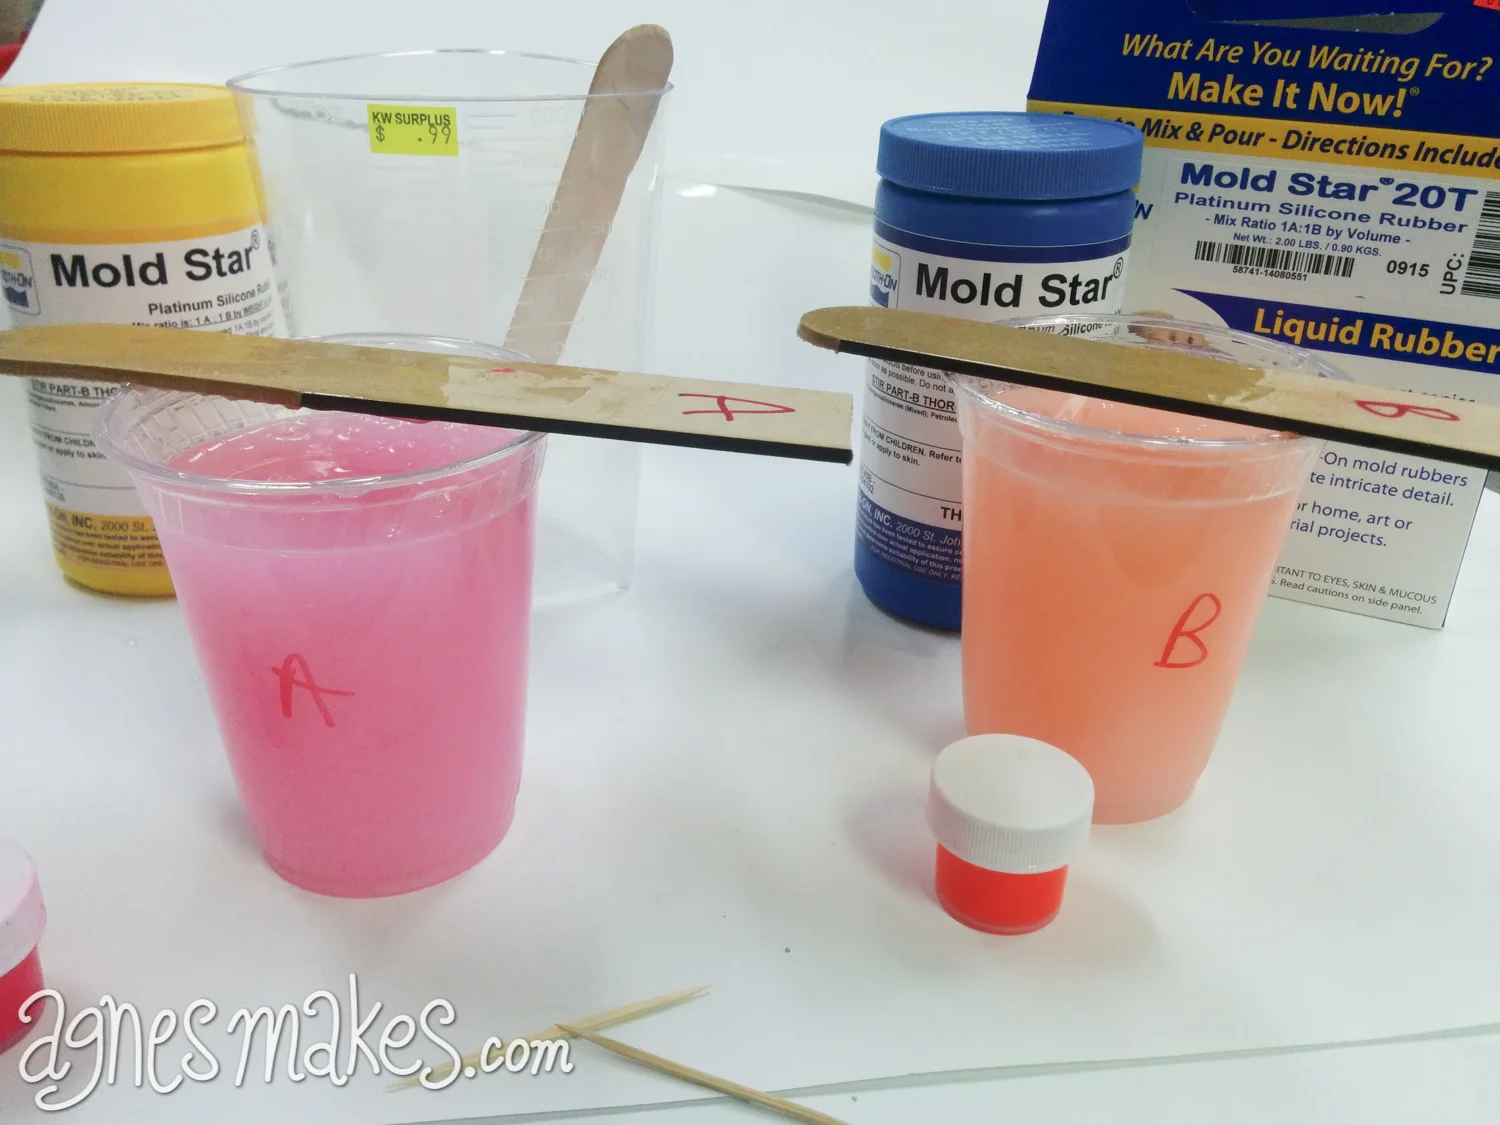
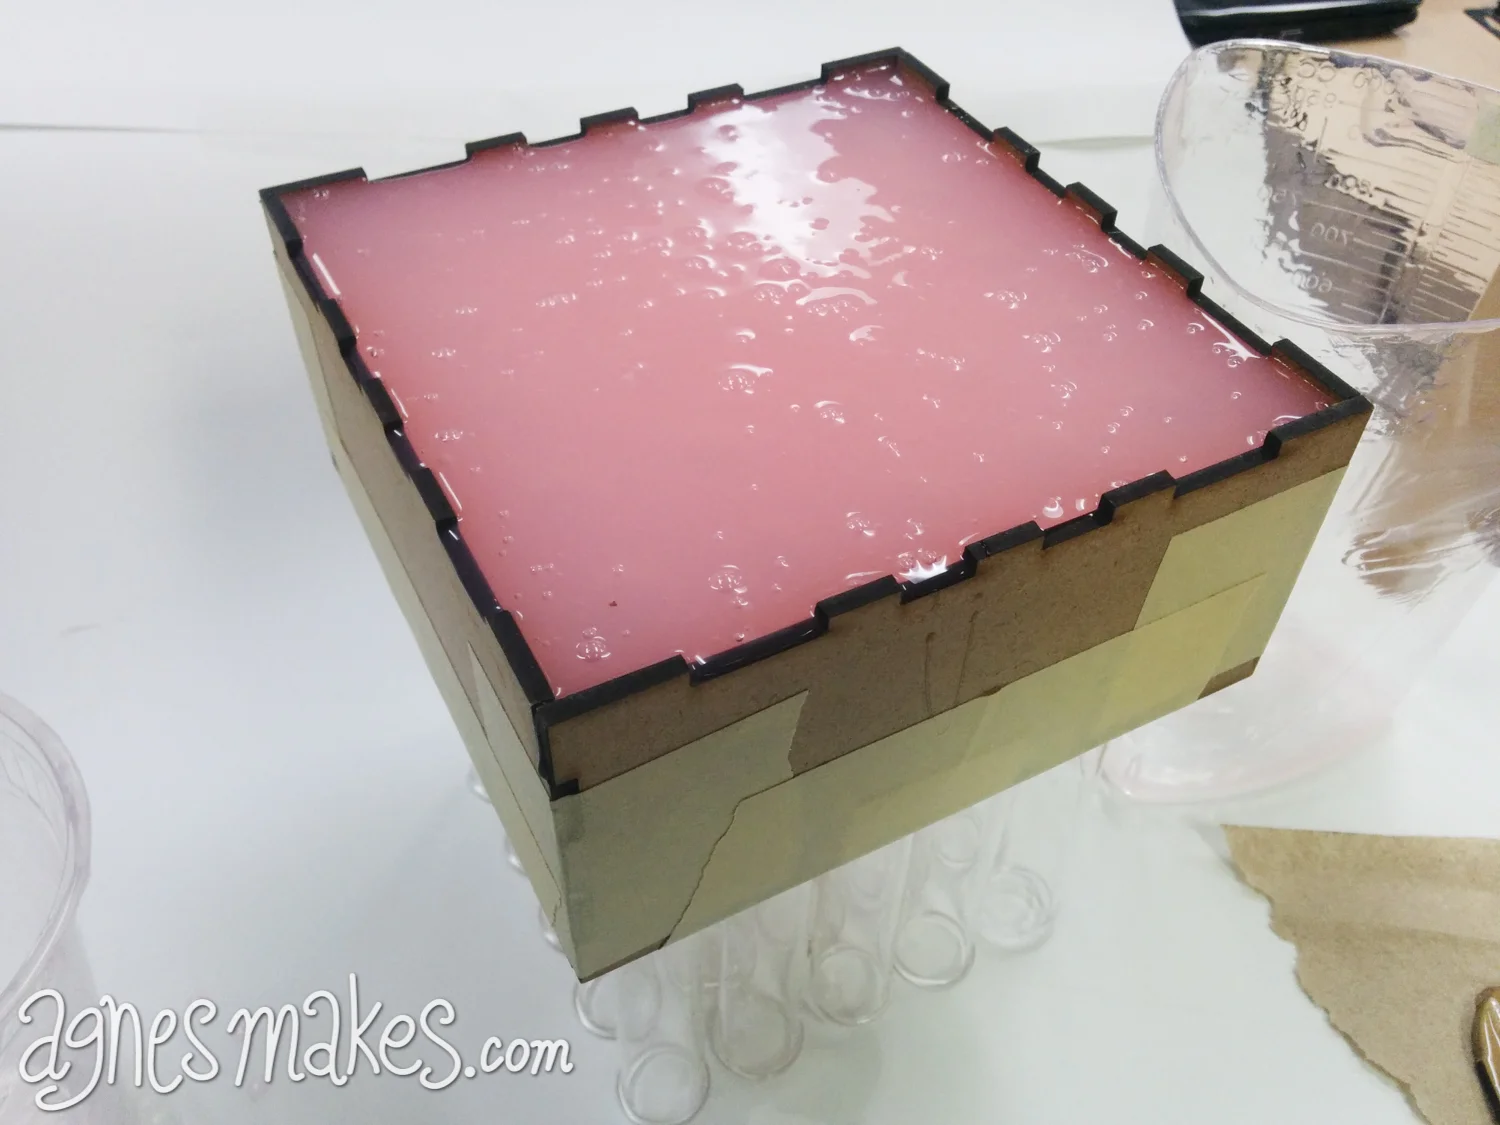
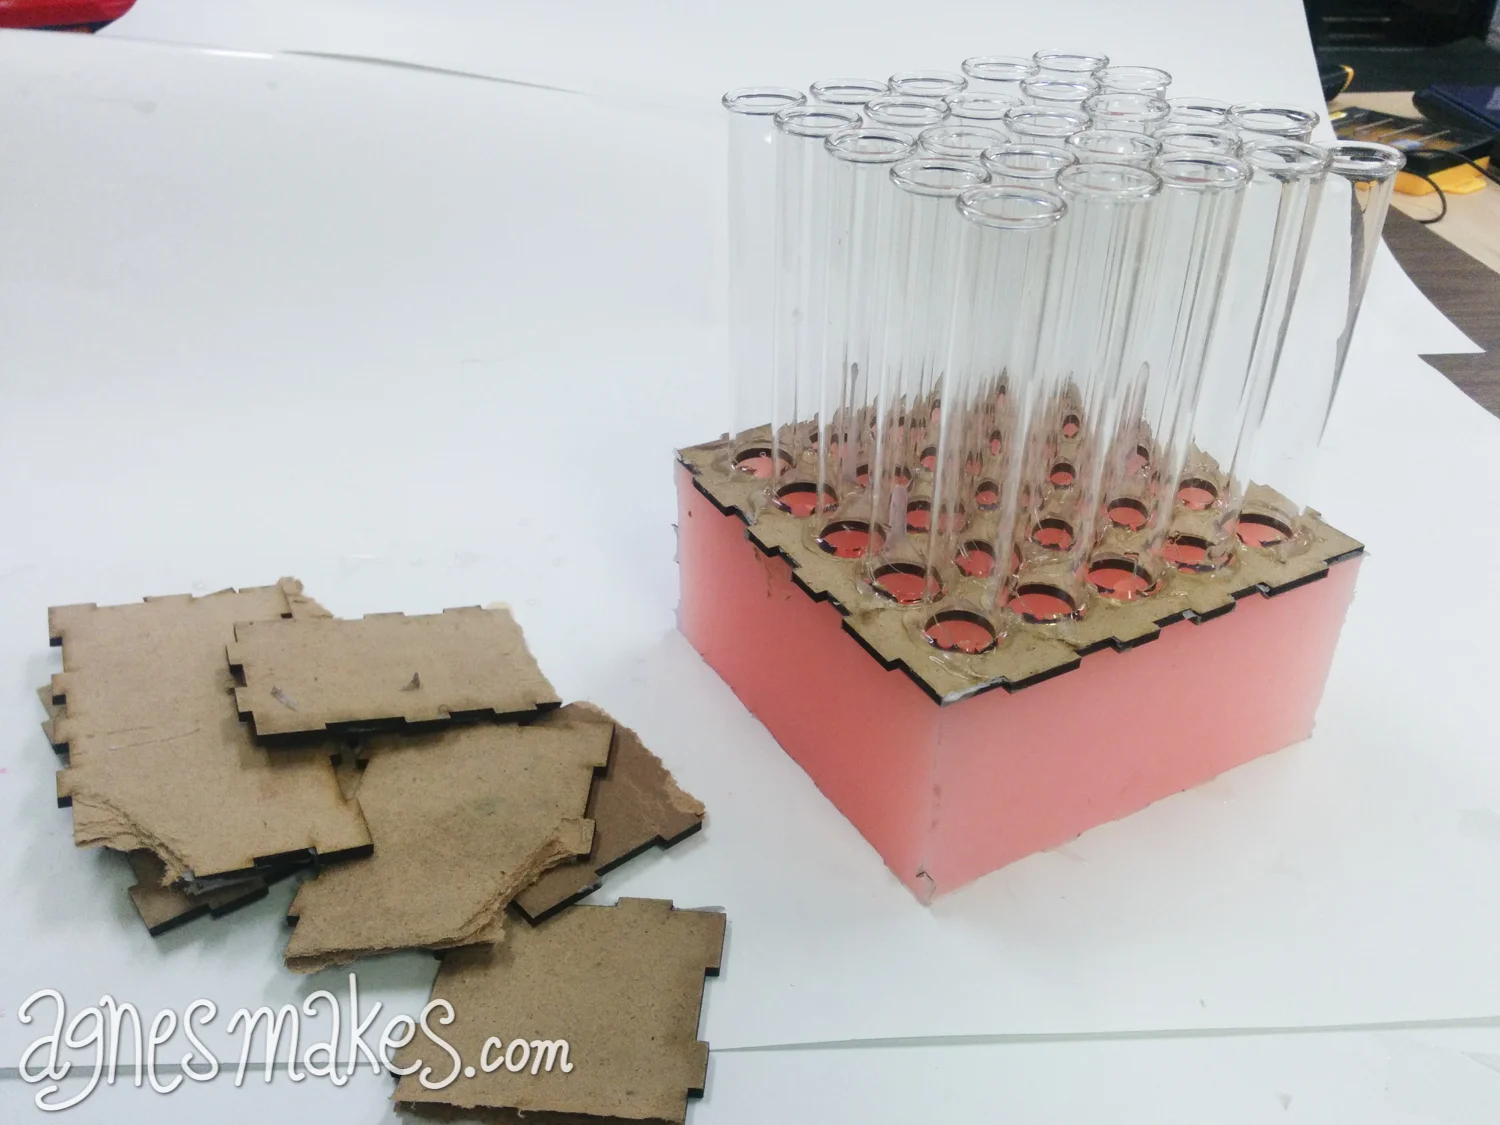
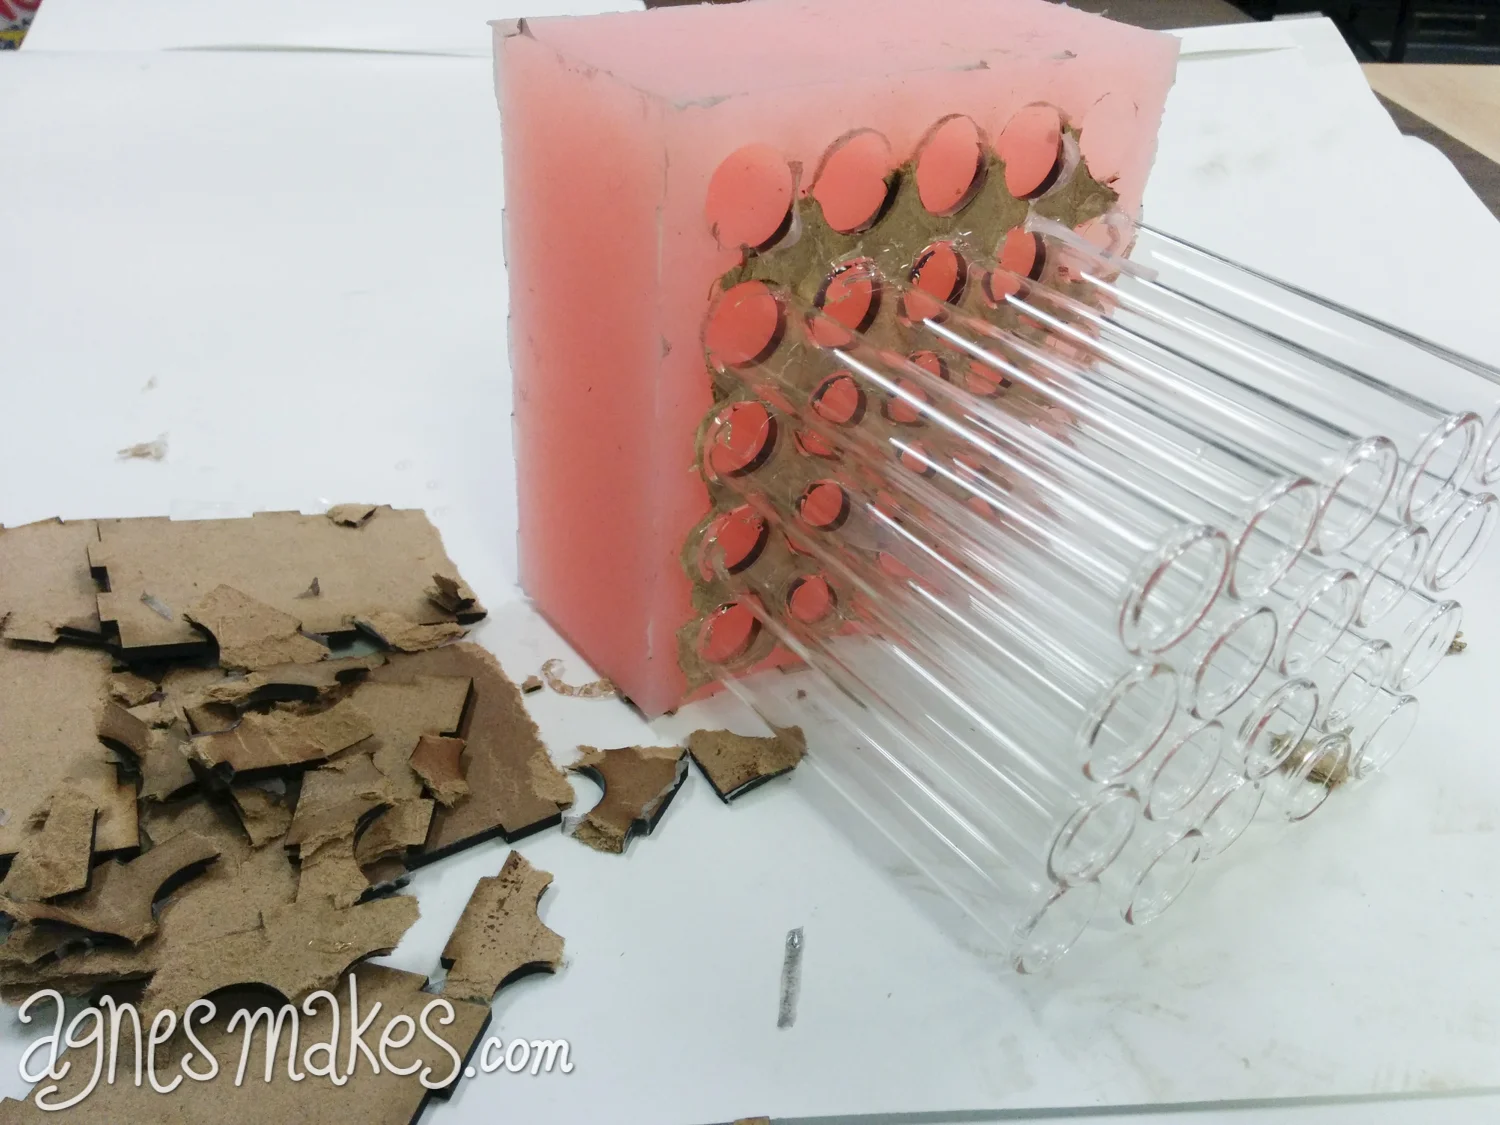
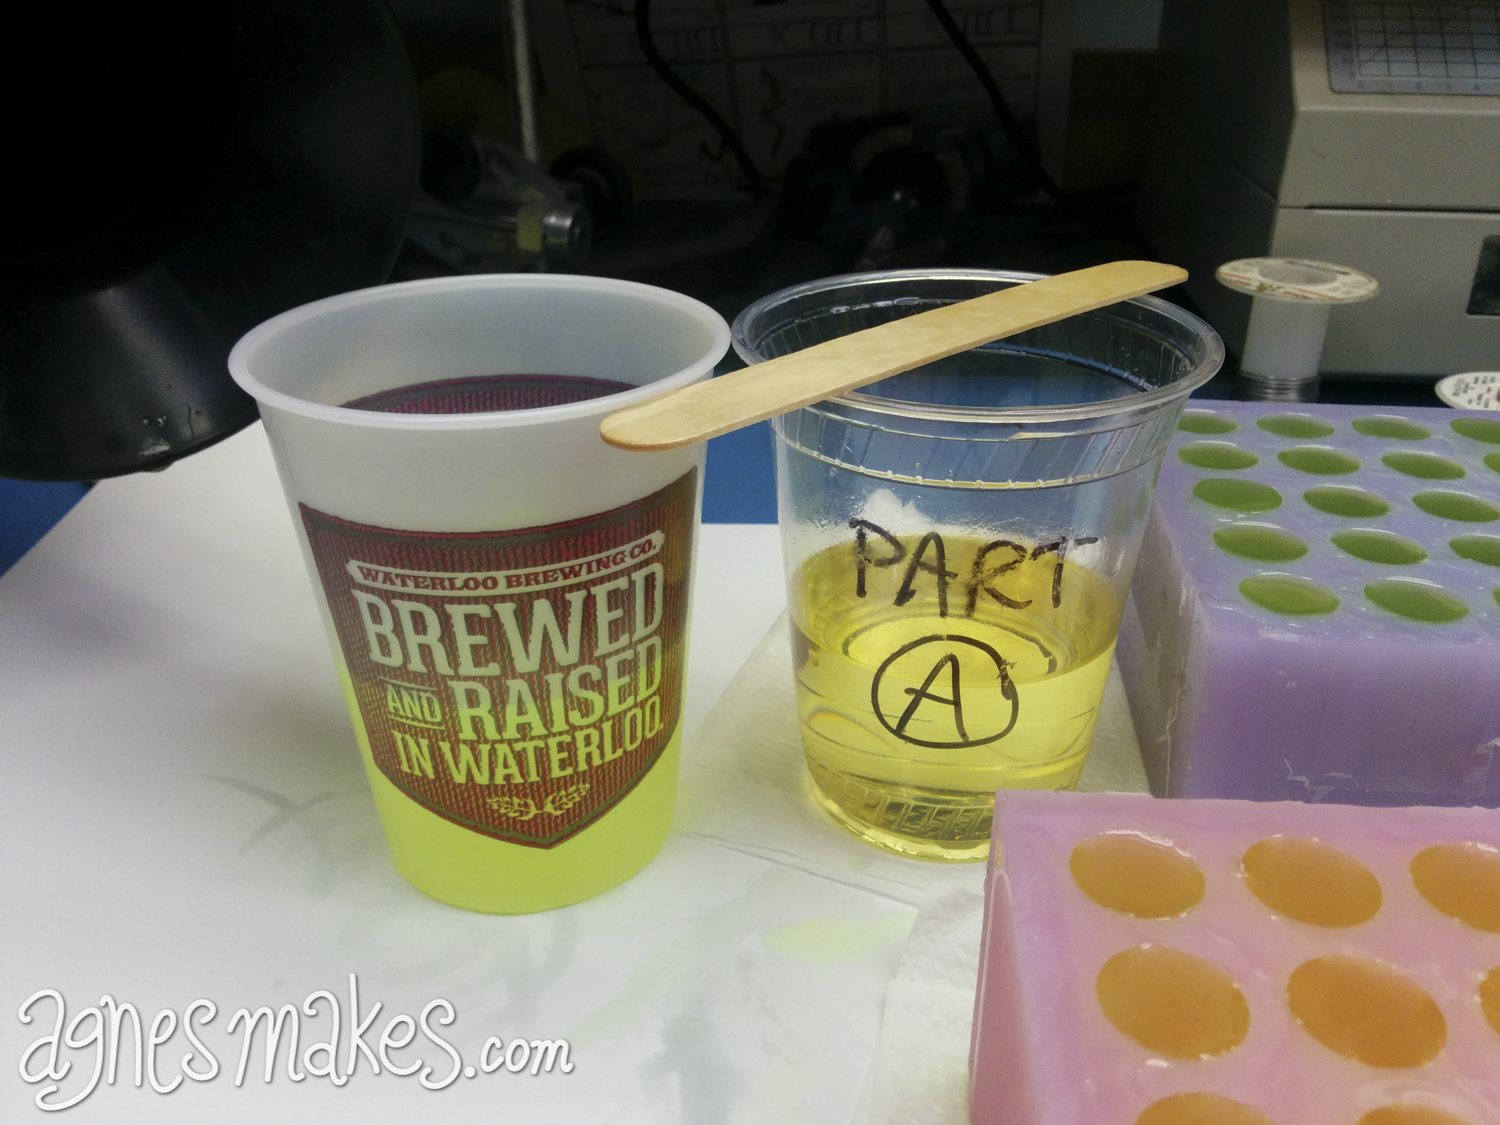
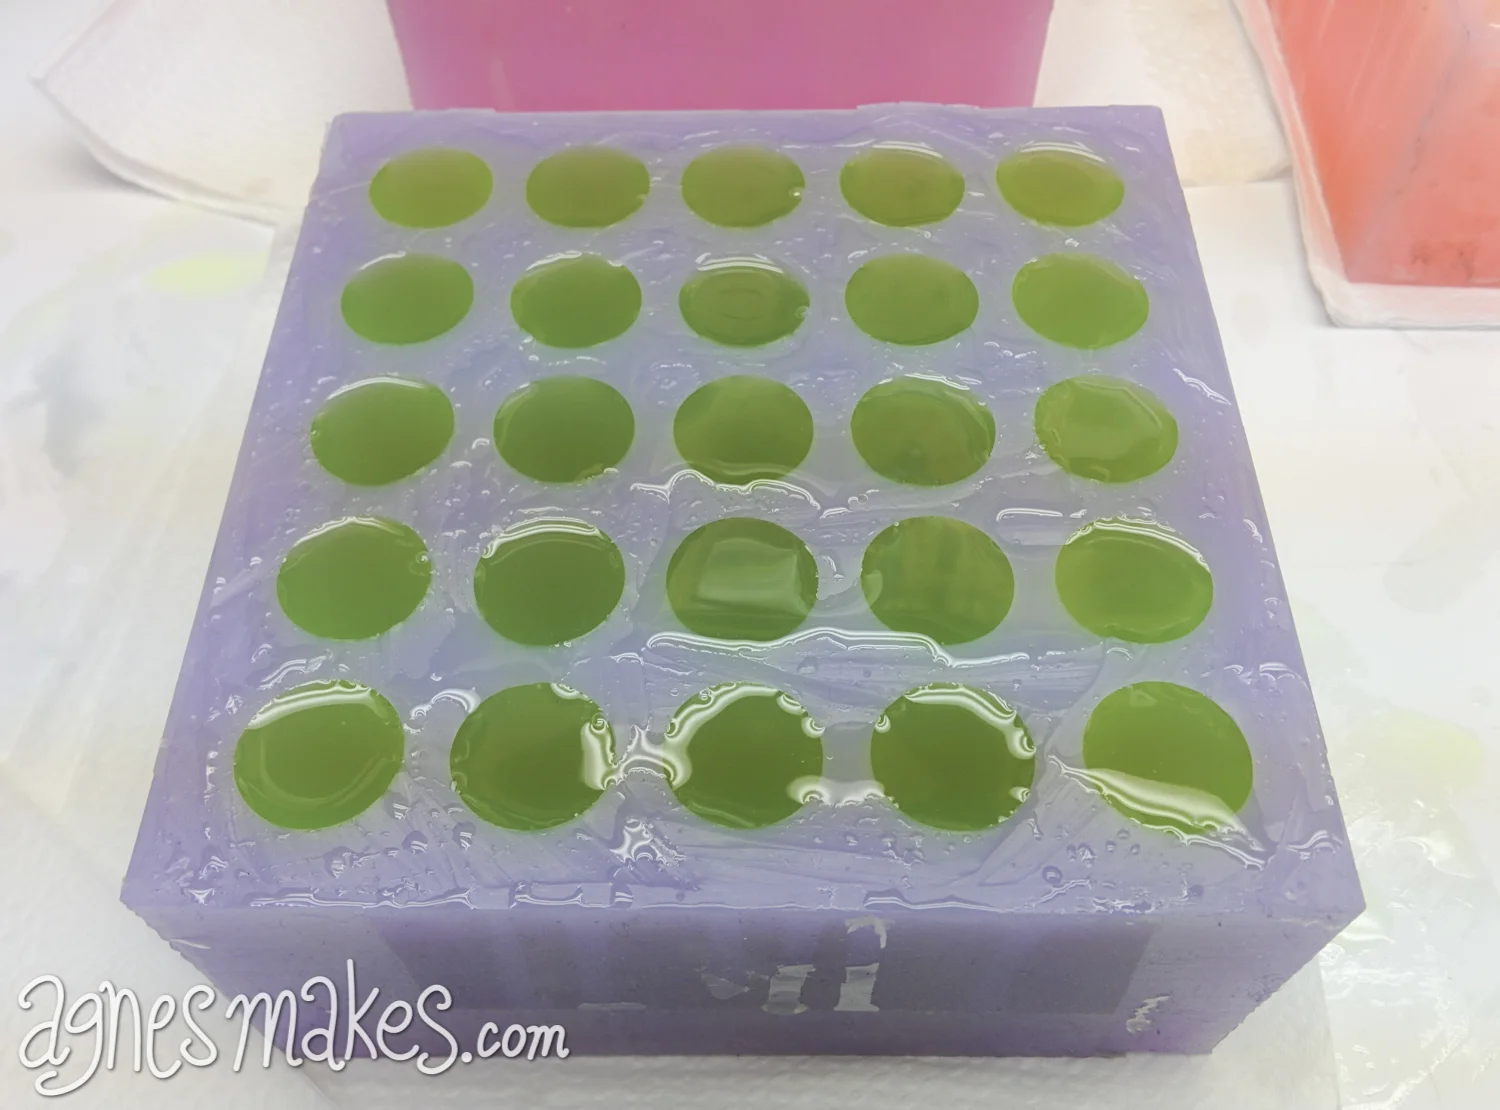
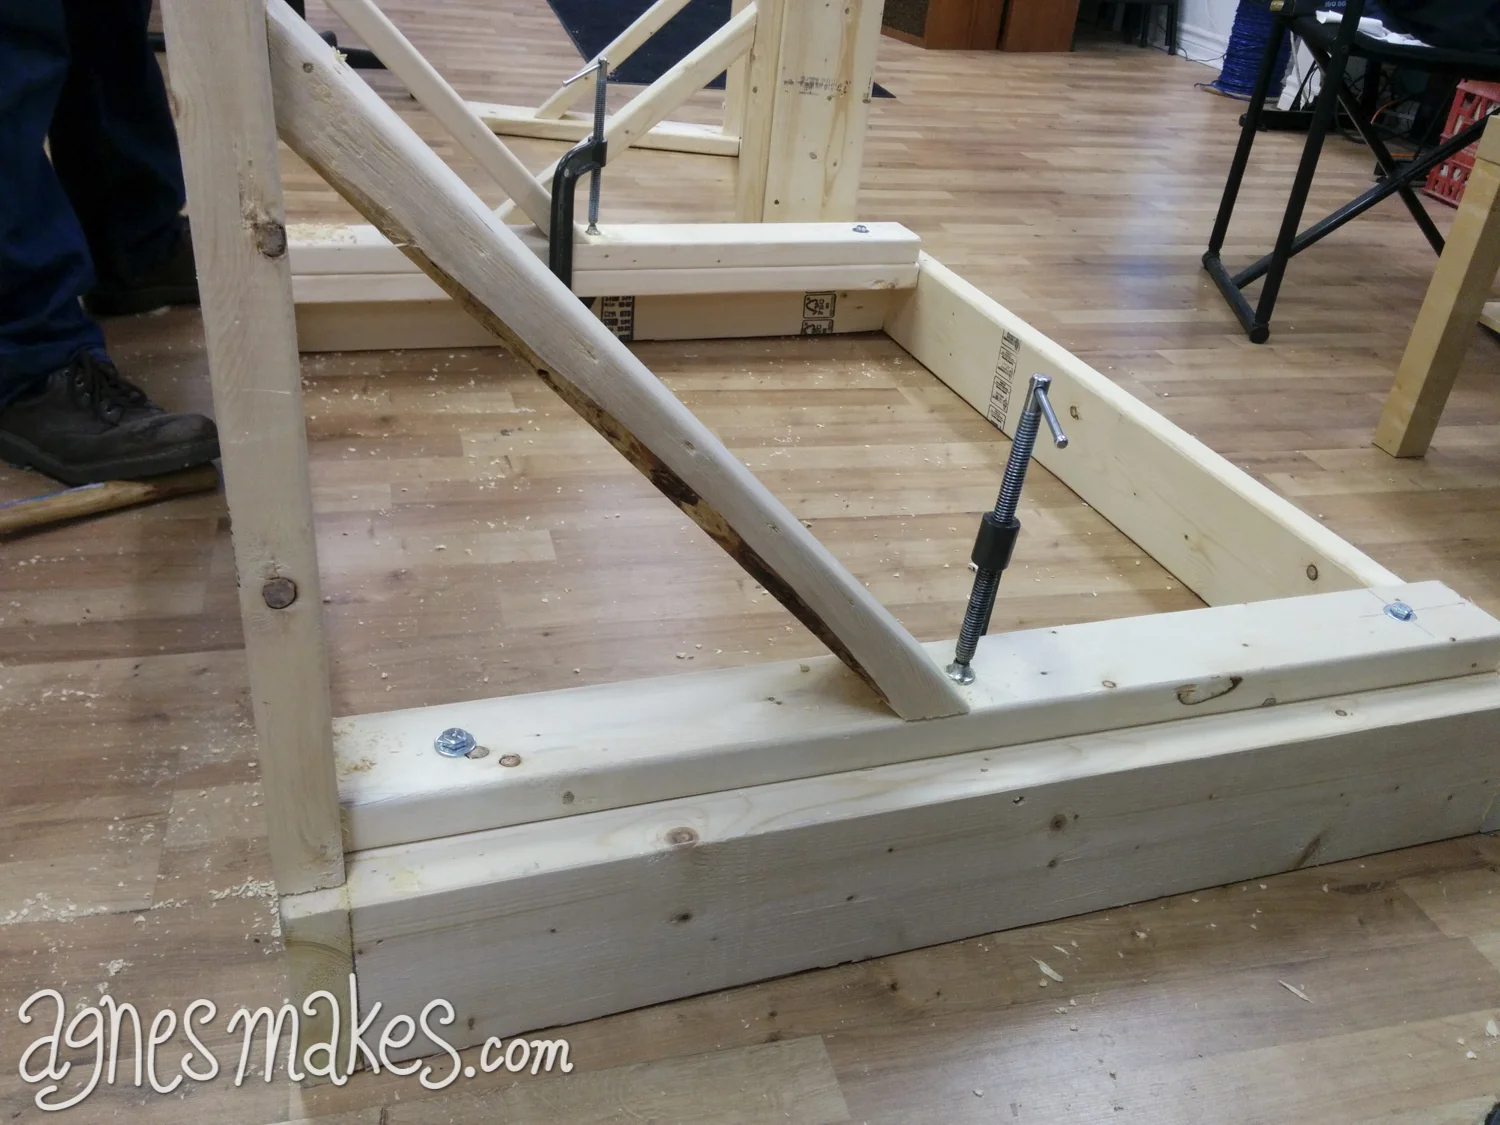
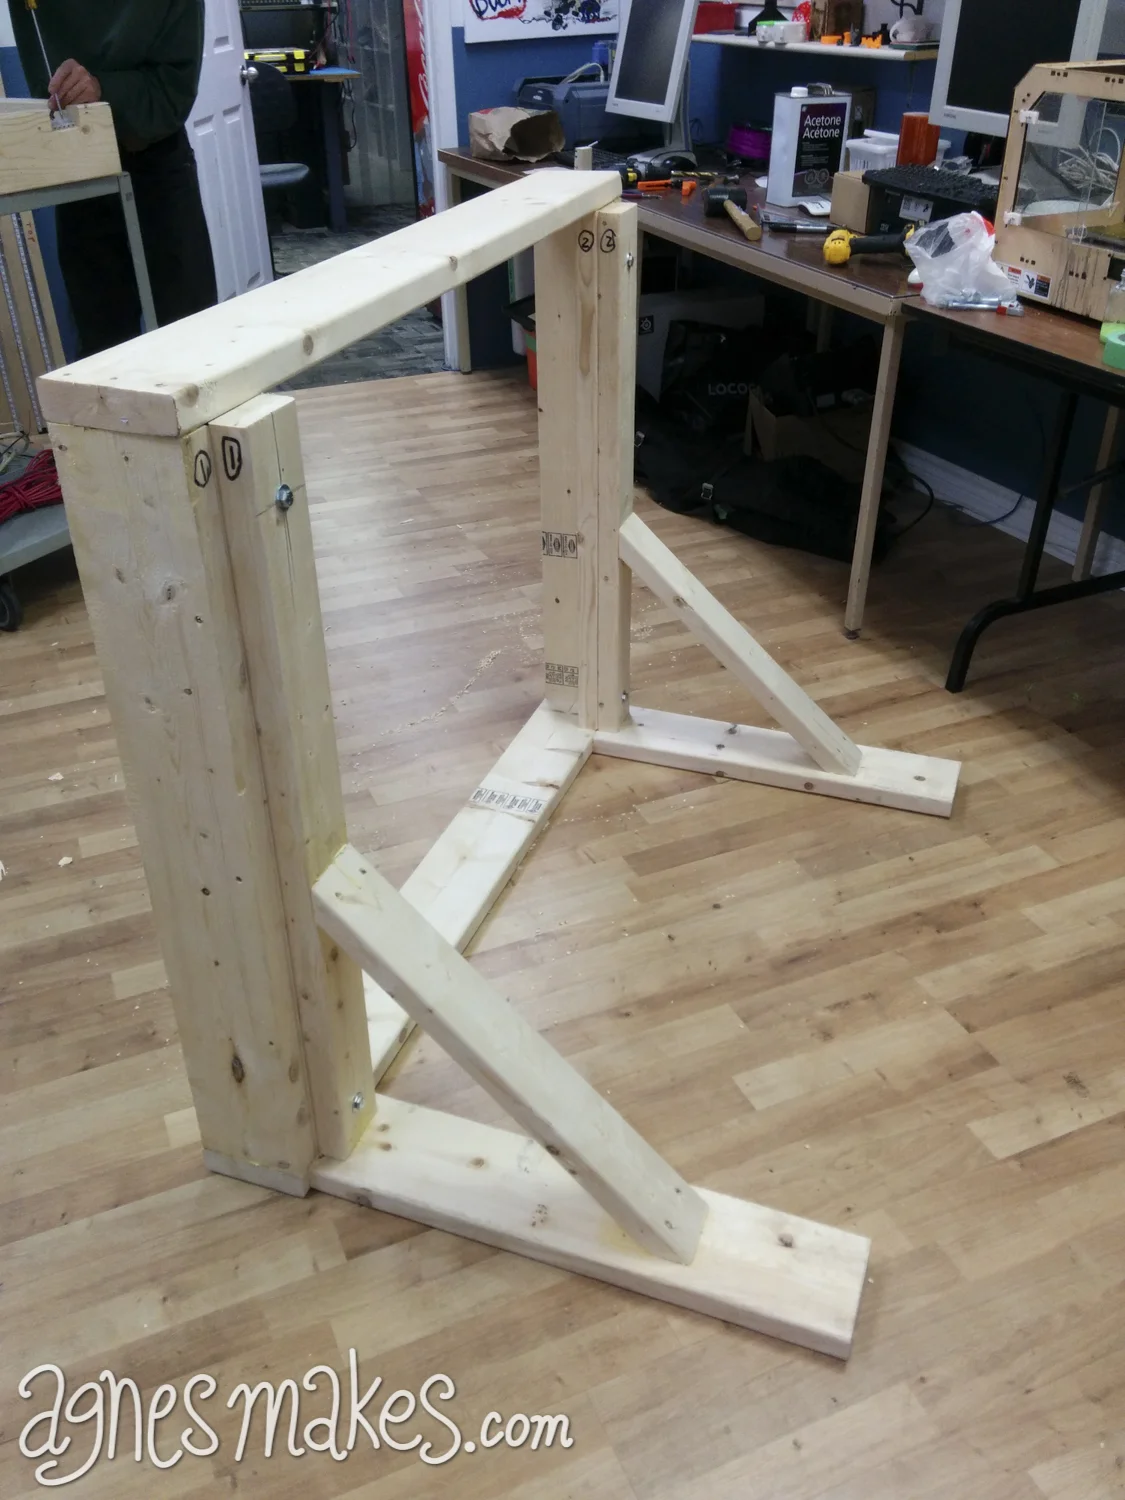
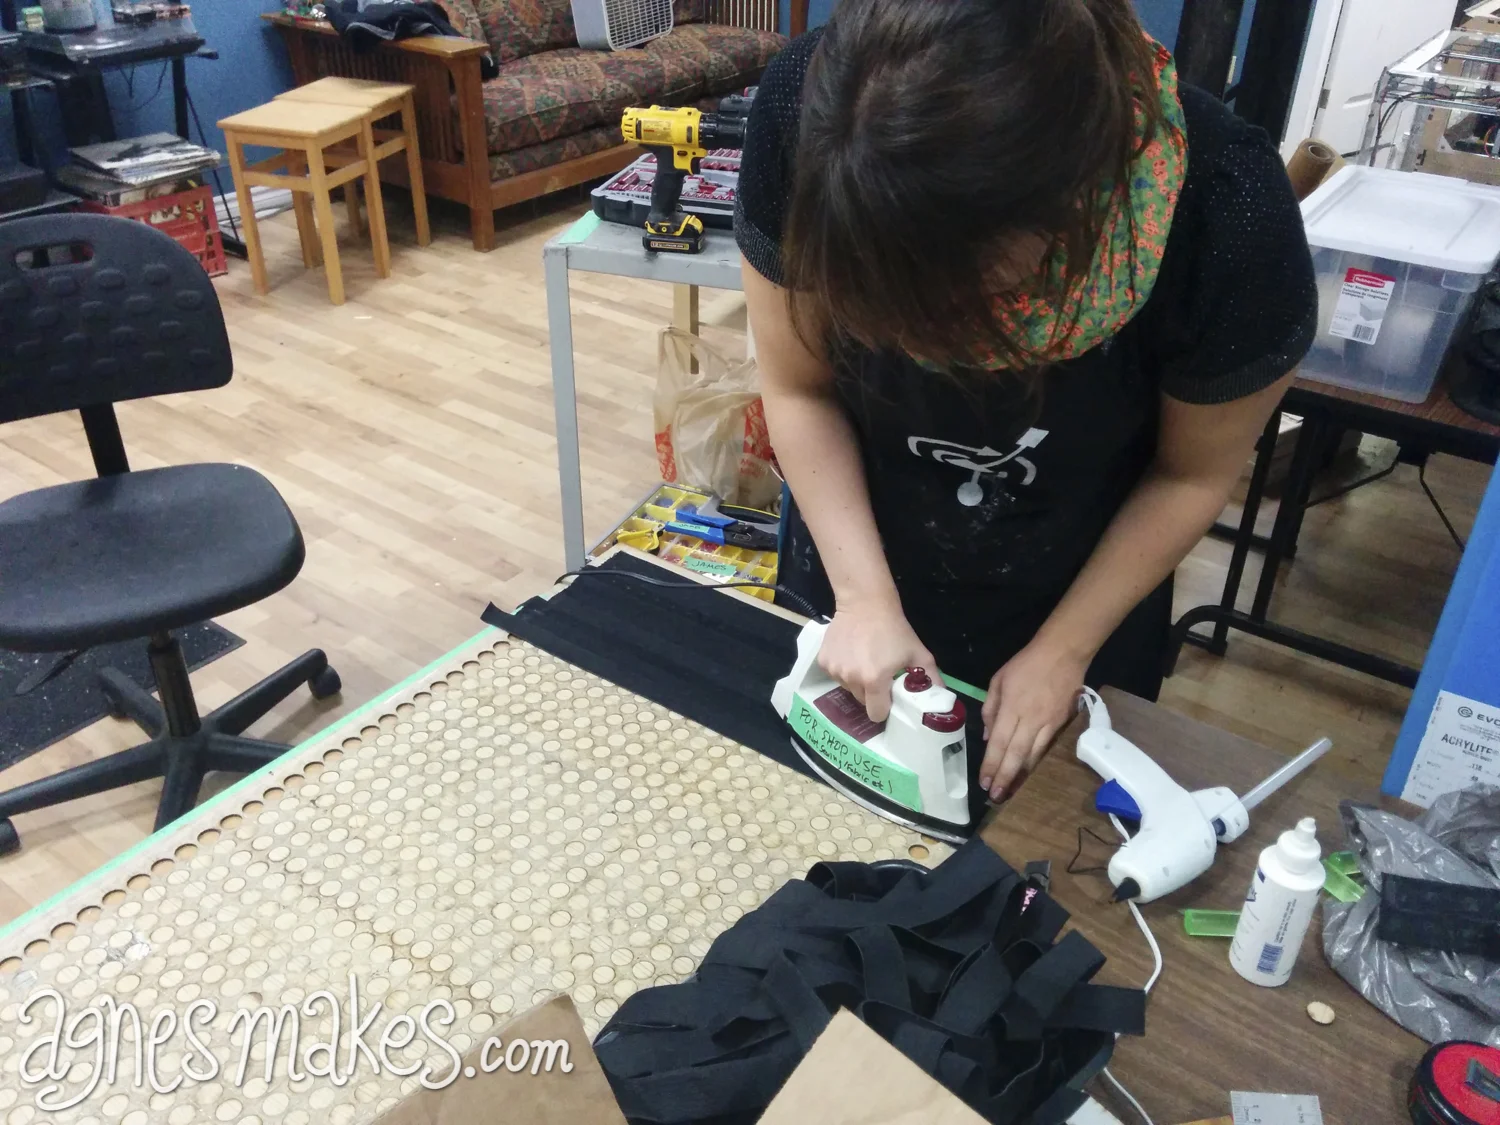
Below is a series of photos with captions giving you a behind-the-scenes look at the making of a Big Light Bright!
Using SolidWorks I was able to sketch my mold and determine the exact volume of silicone required for the mold, in addition to calculating how much resin was required to cast each peg. This was a huge help in estimating how much material to purchase, and avoided some very costly potential mistakes.
Here are the laser cut hardboard pieces used for the mother mold. I cut two extra pieces to help with alignment and spacing of the glass test tubes.
This tabbed boxed was designed using my favourite box generator makercase.com. It is assembled with masking tape on the edges so it can be easily be taken apart later, and also to prevent any silicone from leaking out. The two 1/8" thick hardboard inserts provide proper alignment for the test tubes, and also set a 1/4" gap at the bottom of the mold.
I forgot to photograph this step on the mold I have been showing you, so what you are seeing is an earlier attempt at the same thing. I used an acrylic face for the top aligning layer in this case. I'm using a bit of hot glue around each tube to secure it in place. I will have to break this off later, so I'm trying to put just enough to get to tubes to stay put, but to also seal big gaps from silicone leaking out..
The tubes are inserted one at a time with a hot glue treatment after each. Here they are secured and ready to move to the next step.
Ready to mix up the silicone! Here I am using Mold Star 20T. The 20 refers to the shore hardness which is scale used to tell how hard rubber is. The lower the number, the softer and more flexible the rubber is.
This silicone is mixed in equal parts by volume, and both parts are a milky white colour right out of the can.
A good suggestion I was given to ensure proper mixing is to colour the silicone two different colours with a compatible dye. Since the UV dyes I was going to use in the resin casting were compatible with the silicone, I decided to use them.
This is not a great example of colour choice since they are quite similar. At this point I had already made two other molds and was confident in my mixing skills. The first mold I made used a pink and a blue dye, so it was really obvious in the mixing stage if they were well blended or not.
Parts A and B were mixed into one large clear container. Mixing must be done thoroughly and quickly! This silicone has a working time of 6 minutes, and cures in 30 minutes.
The batch was then poured into the mold. I like to pick one corner and pour into the same spot to avoid creating extra air bubbles.
I didn't use any mold release on this because I didn't want it altering the texture of the glass. I wanted a really smooth finish on my pegs which is why I was using the glass tubes to start with.
My calculations were perfect.
<insert happy dance here>
I had exactly enough silicone to fill the mother mold. If you ever find your self short, it's not a problem to pour an additional batch on top. Silicone sticks to itself very well.
30 minutes later it's time to bust this thing apart! This step did take some elbow grease since there wasn't any mold release applied.
With the help of some needle nose pliers, and a lot of patience I was able to release the final part of the mother mold. As you can see it was meant for one time use only. Good thing hardboard is so cheap. The test tubes were cleaned and used again though. Any hot glue left on the glass was easily released with some cold water.
After all the tubes were released I gave the silicone mold a nice warm bubble bath and let it dry out.
With all the hard mold making steps behind me, I was excited to start pumping out batches of pegs.
I was lucky enough to have access to a fume extractor for mixing the resin under. The product didn't really have an odour from what I remember, but you can never be too careful when using this type of stuff. Giving yourself a sensitivity to certain chemicals is not fun. Also gloves, gloves, gloves.
Here I actually used a scale to measure parts A and B by weight. I used a resin product called Smooth Cast 325. I also used a universal mold release spray, Ease Realease 205 before pouring. It's not totally necessary, but since I was planning on doing a lot of castings from the same molds I wanted to do what I could to prolong their life.
To save on cups and making more waste than I needed, I decided to reuse my Part A cup over and over, and Part B would be a fresh cup each time. Part A gets poured in cup B and mixed thoroughly before pouring. These beer cups were the perfect size for pouring one mold.
Here I am giving the cup a little squeeze to create a spout for it to pour off from. Trying to keep it neat, but I still put down scrap paper and napkins for the inevitable over spill.
I found that by over filling the mold a bit and creating a thin consistent layer across the whole top of the mold made it easier when demolding. I was able to peel back that top layer of cured resin and clean the mold quickly. If I didn't do this step, I would end up with tiny puddles of over spill which are pretty sharp and annoying to clean from the mold once cured. This photo is a good example of the small puddles that are difficult to clean.
After an hour these puppies were ready to be released! The bottom of the mold was only a 1/4" of silicone so it was easy to flex the spots under each peg with my thumbs, they would pop out about 3/4" and a handy pair of pliers took care of the rest of the extraction.
The final step to finishing these was to sand the flat ends down, one at a time. The ones in this photo are not finished. We really couldn't find a better way to do it. So yes, about 900 pegs were finished by hand on a disc sander. The result was fabulous frosted appearance and when lit up, they looked even better than we had hoped for.
I made five different colours from the set of UV reactive dyes I purchased. I did some preliminary testing to determine which colours fluoresced the best under the UV light. The winners were, yellow, orange, pink, blue, and green.